Putting Together a Corsair XM2 NVMe Waterblock on a Samsung 980 1TB
If you saw the short — welcome. We didn’t have enough time in the video to cover the full build, so here’s the complete breakdown.
This started with a Corsair XM2 M.2 waterblock I’d been sitting on and a Samsung 980 1TB I had spare. The block was unpowered, meaning it’s passive — no pump, no fitting ports of its own, just direct contact cooling designed to bolt onto your drive and integrate into an existing loop or just pull heat into a heatsink-style chassis. The install itself is fast. Here’s how it actually went.
Out of the Box
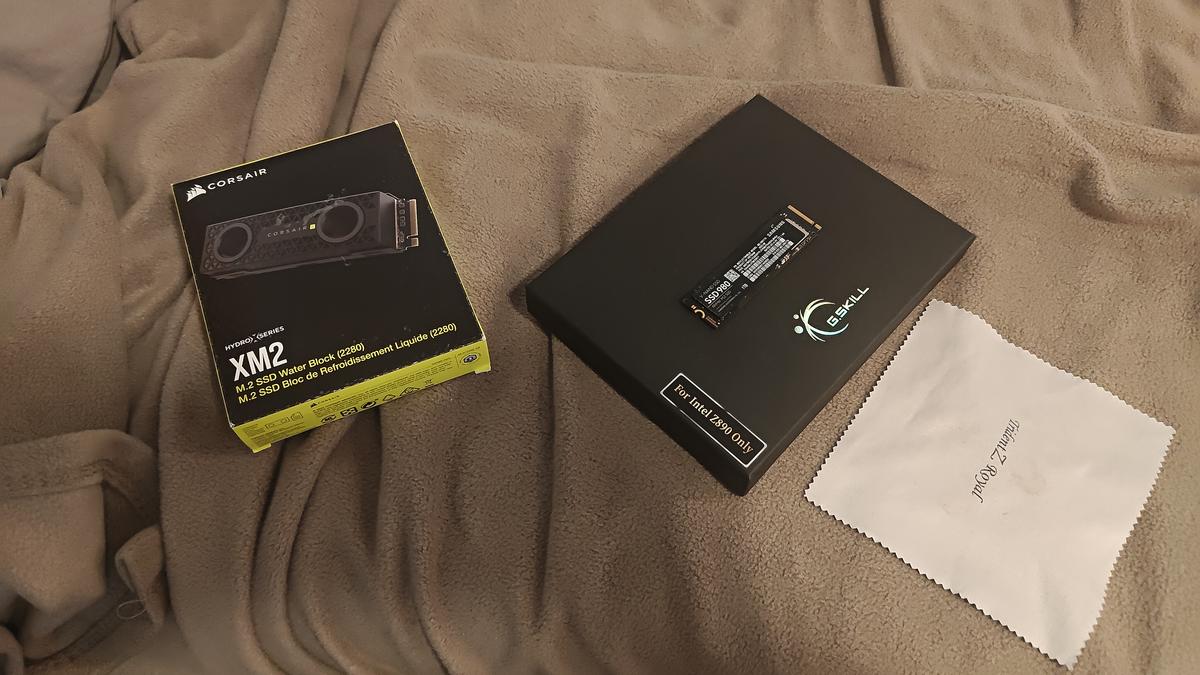
Sealed retail box, never opened. The XM2 comes packaged with everything you need — the top block, the bottom mounting plate, thermal pads, and documentation. First thing out was the manual and the accessory tray sitting on top.
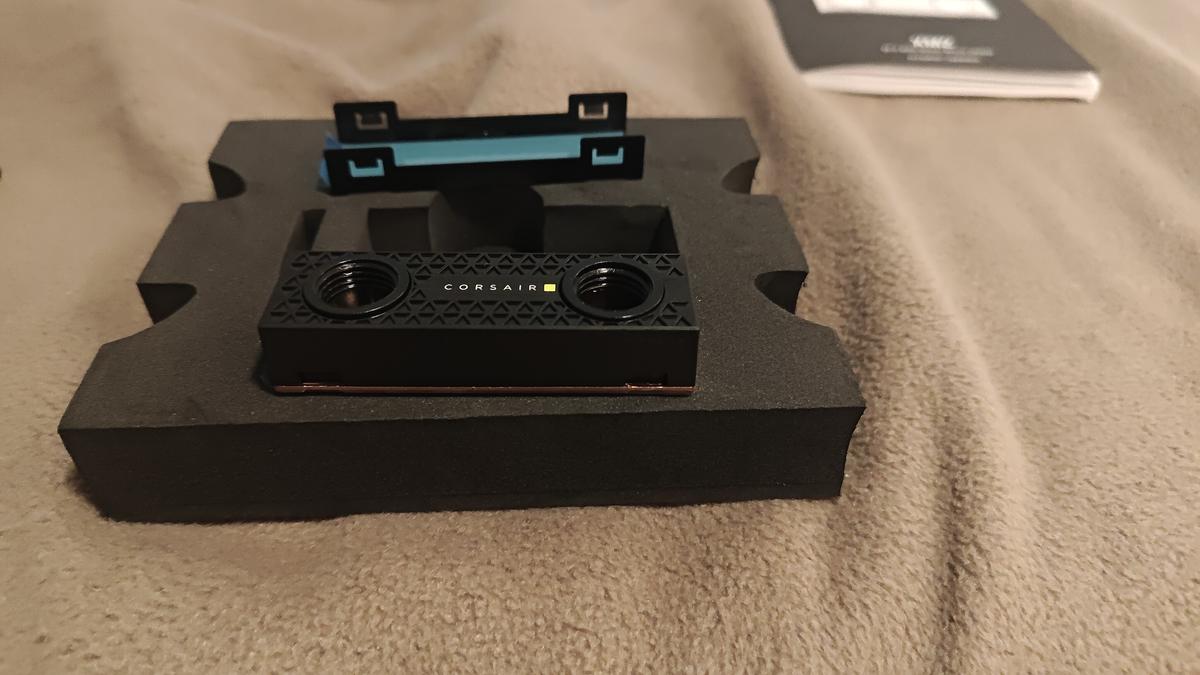
Under the docs you get the block itself. Two main pieces: the top section which is the actual waterblock body, and the bottom casing that the SSD mounts into before the top clamps down.
First Look at the Block
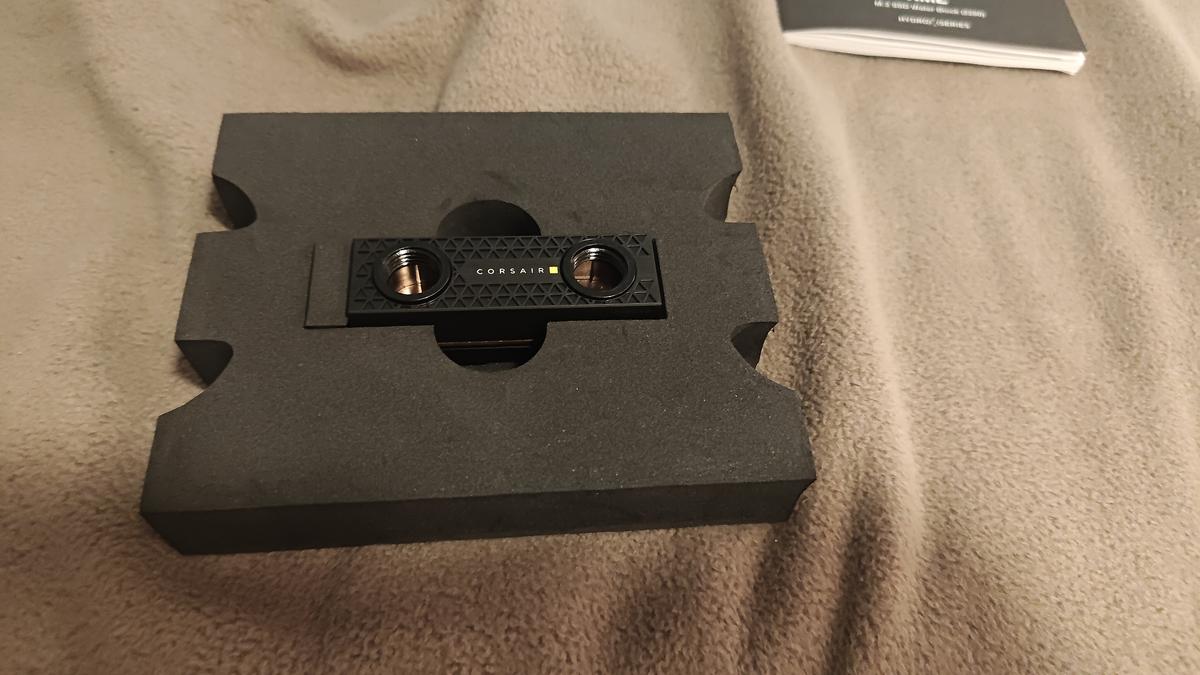
The build quality on the XM2 is solid. The contact plate on the underside is copper, which is what actually touches the NAND and controller on the drive. Corsair ships pre-applied thermal pads on it — two pieces, one for the controller and one for the NAND stack.
Thermal Pads Off
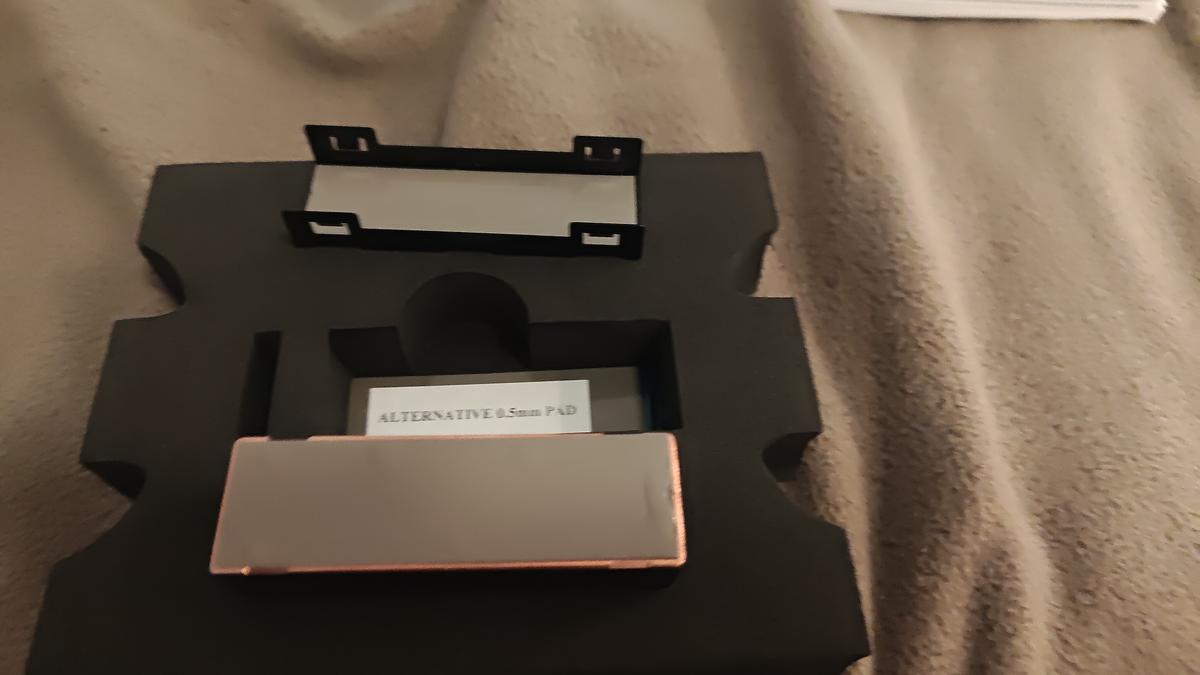
Before assembly you pull the protective backing off the thermal pads. They’re already positioned correctly from the factory, so there’s no guesswork on placement. This is the step most people overthink — the pads are pre-cut and pre-positioned, you just peel the film.
SSD Goes In
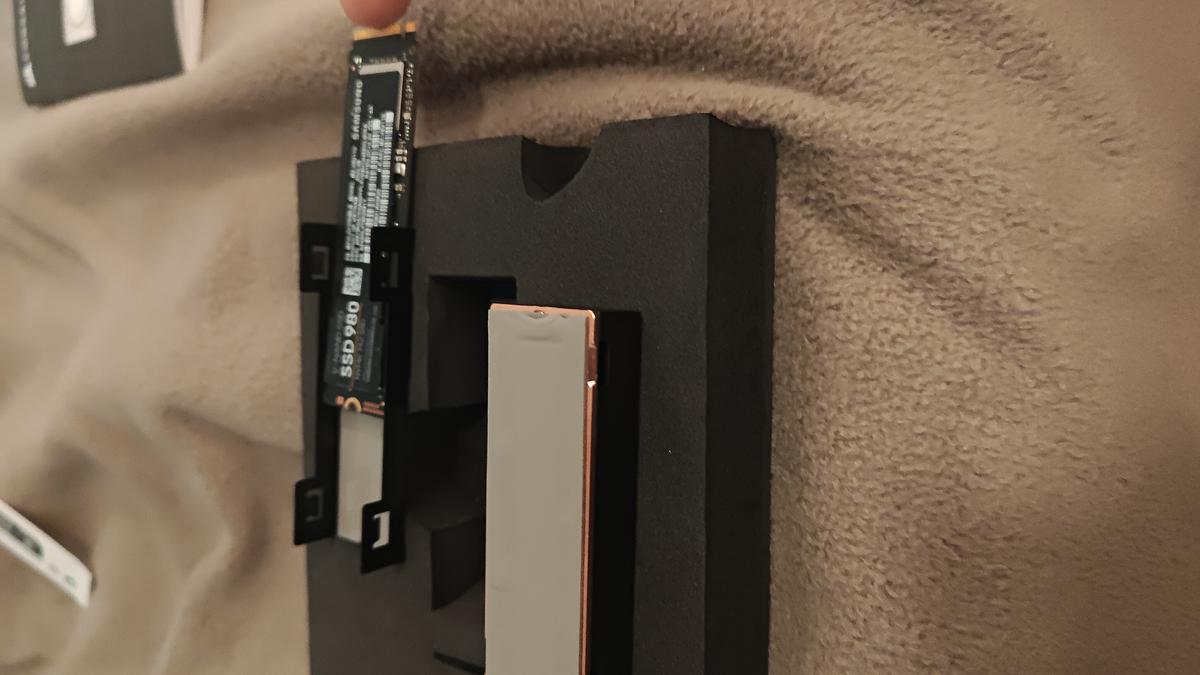
The Samsung 980 1TB slides into the bottom casing at the M.2 angle — same as dropping it into a motherboard slot. The bottom plate holds it at the correct position so the thermal pads land exactly where they need to when the top goes on.
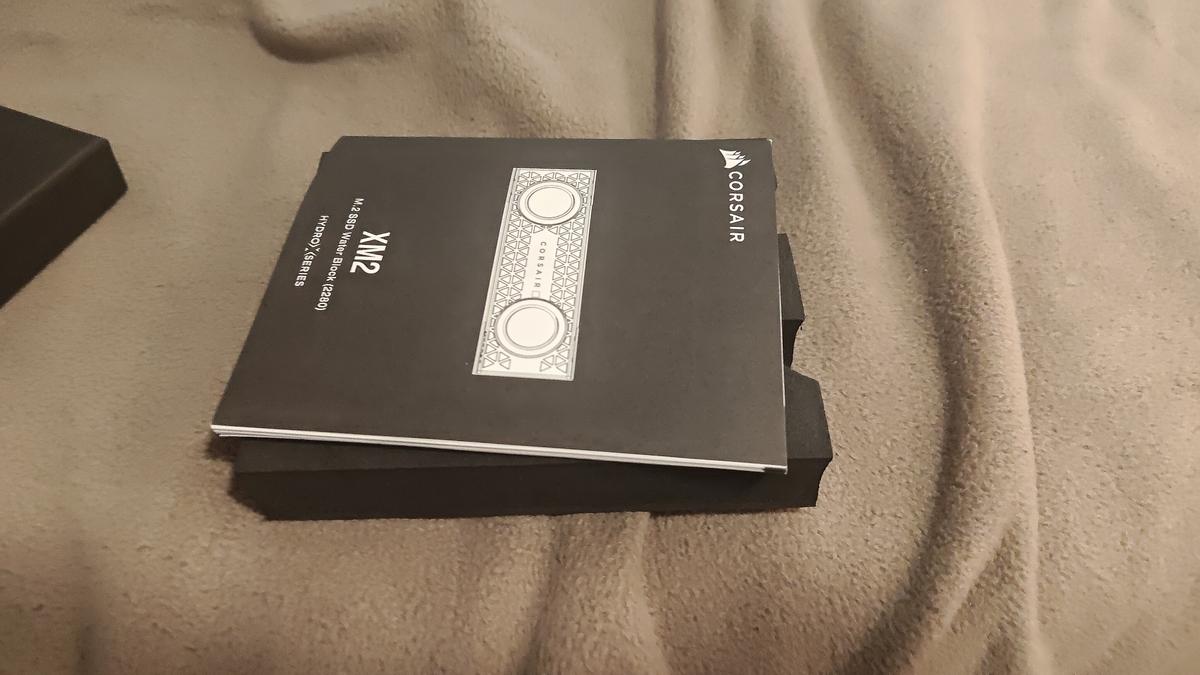
Drive seated, alignment looks right. The 980’s controller and NAND are exposed upward, exactly where the copper pads will make contact.
Top Snaps On
From here it’s straightforward — the top block sets down over the bottom casing and snaps into place. No tools needed for the basic assembly. The design is clip-fit, so it’s one motion.
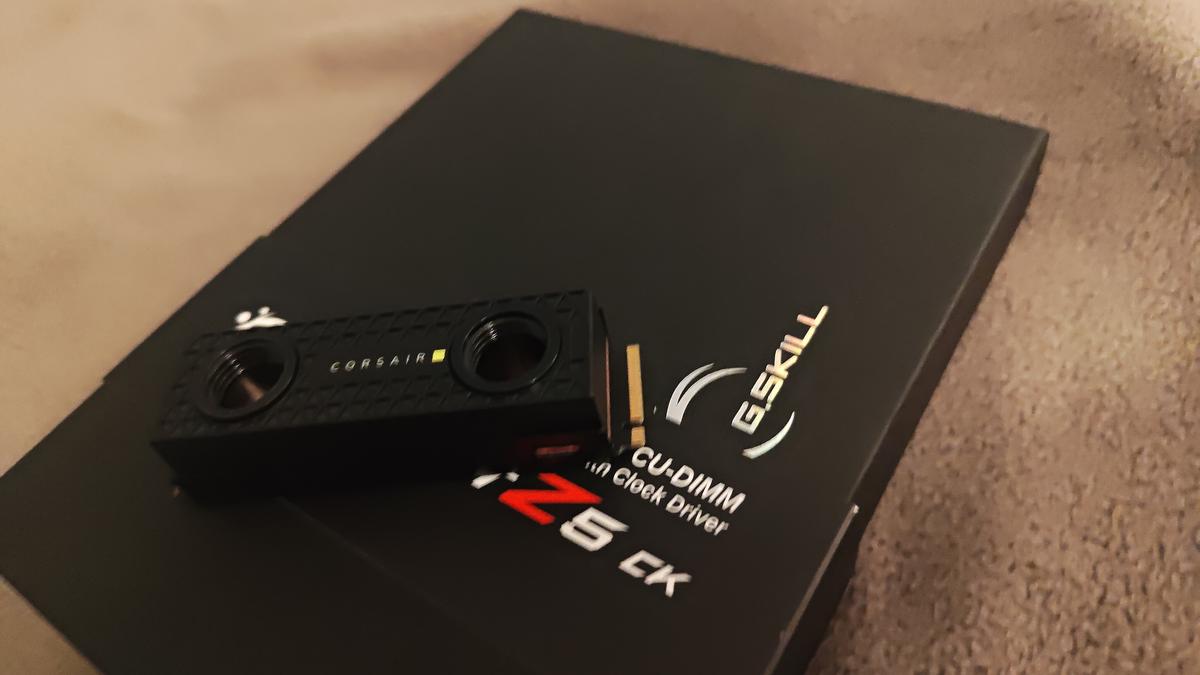
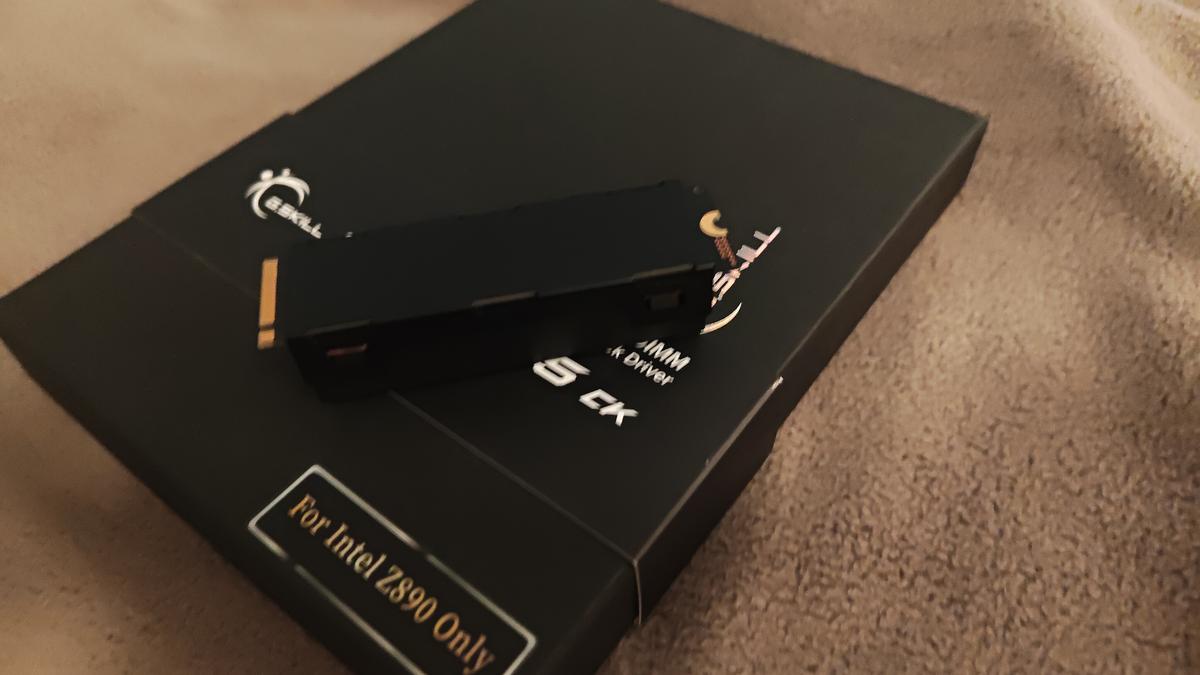
That’s the finished build. Front and back. The whole process took maybe two minutes from opening the box to done. The drive is fully encased — copper contact on the top, the mounting plate on the bottom, thermal pads sandwiched between both and the NAND.
The Point
The XM2 is a passive block. It’s designed to mount inside a case that has active water cooling running through the drive bay, or to be used as an oversized heatsink. If you’re running a custom loop with an M.2 slot in a waterblock-compatible position this is the direct solution. If you’re using it standalone it’ll still pull heat better than bare drive or a standard aluminum heatsink, but it needs airflow to do it properly.
Samsung 980 1TB is a solid drive for this treatment — PCIe 3.0, 1TB, runs warm under sustained loads which is exactly the scenario where contact cooling makes a difference.
Total time: two minutes. Total tools required: none.
Corsair XM2 M.2 waterblock — Samsung 980 1TB — passive copper contact block, clip-fit assembly, no tools required.
From Marks Finds