Radeon Pro V340L Teardown and Repaste
Stadia shut down in January 2023. Over the next year the hardware started moving — eBay listings, surplus auctions, all the server equipment Google quietly decommissioned after pulling the plug. I sniped this one for $30.
Thirty dollars for a dual Vega 10 XL server card with 16GB HBM2 and hardware GPU virtualization. The seller had no idea what they had. I wasn’t going to explain it.
A card that spent years running continuous server workloads doesn’t get paste changes. It runs until it stops running. Tearing it down to see what AMD actually shipped into those datacenter racks — and putting fresh paste on it while everything was apart — was the obvious play.
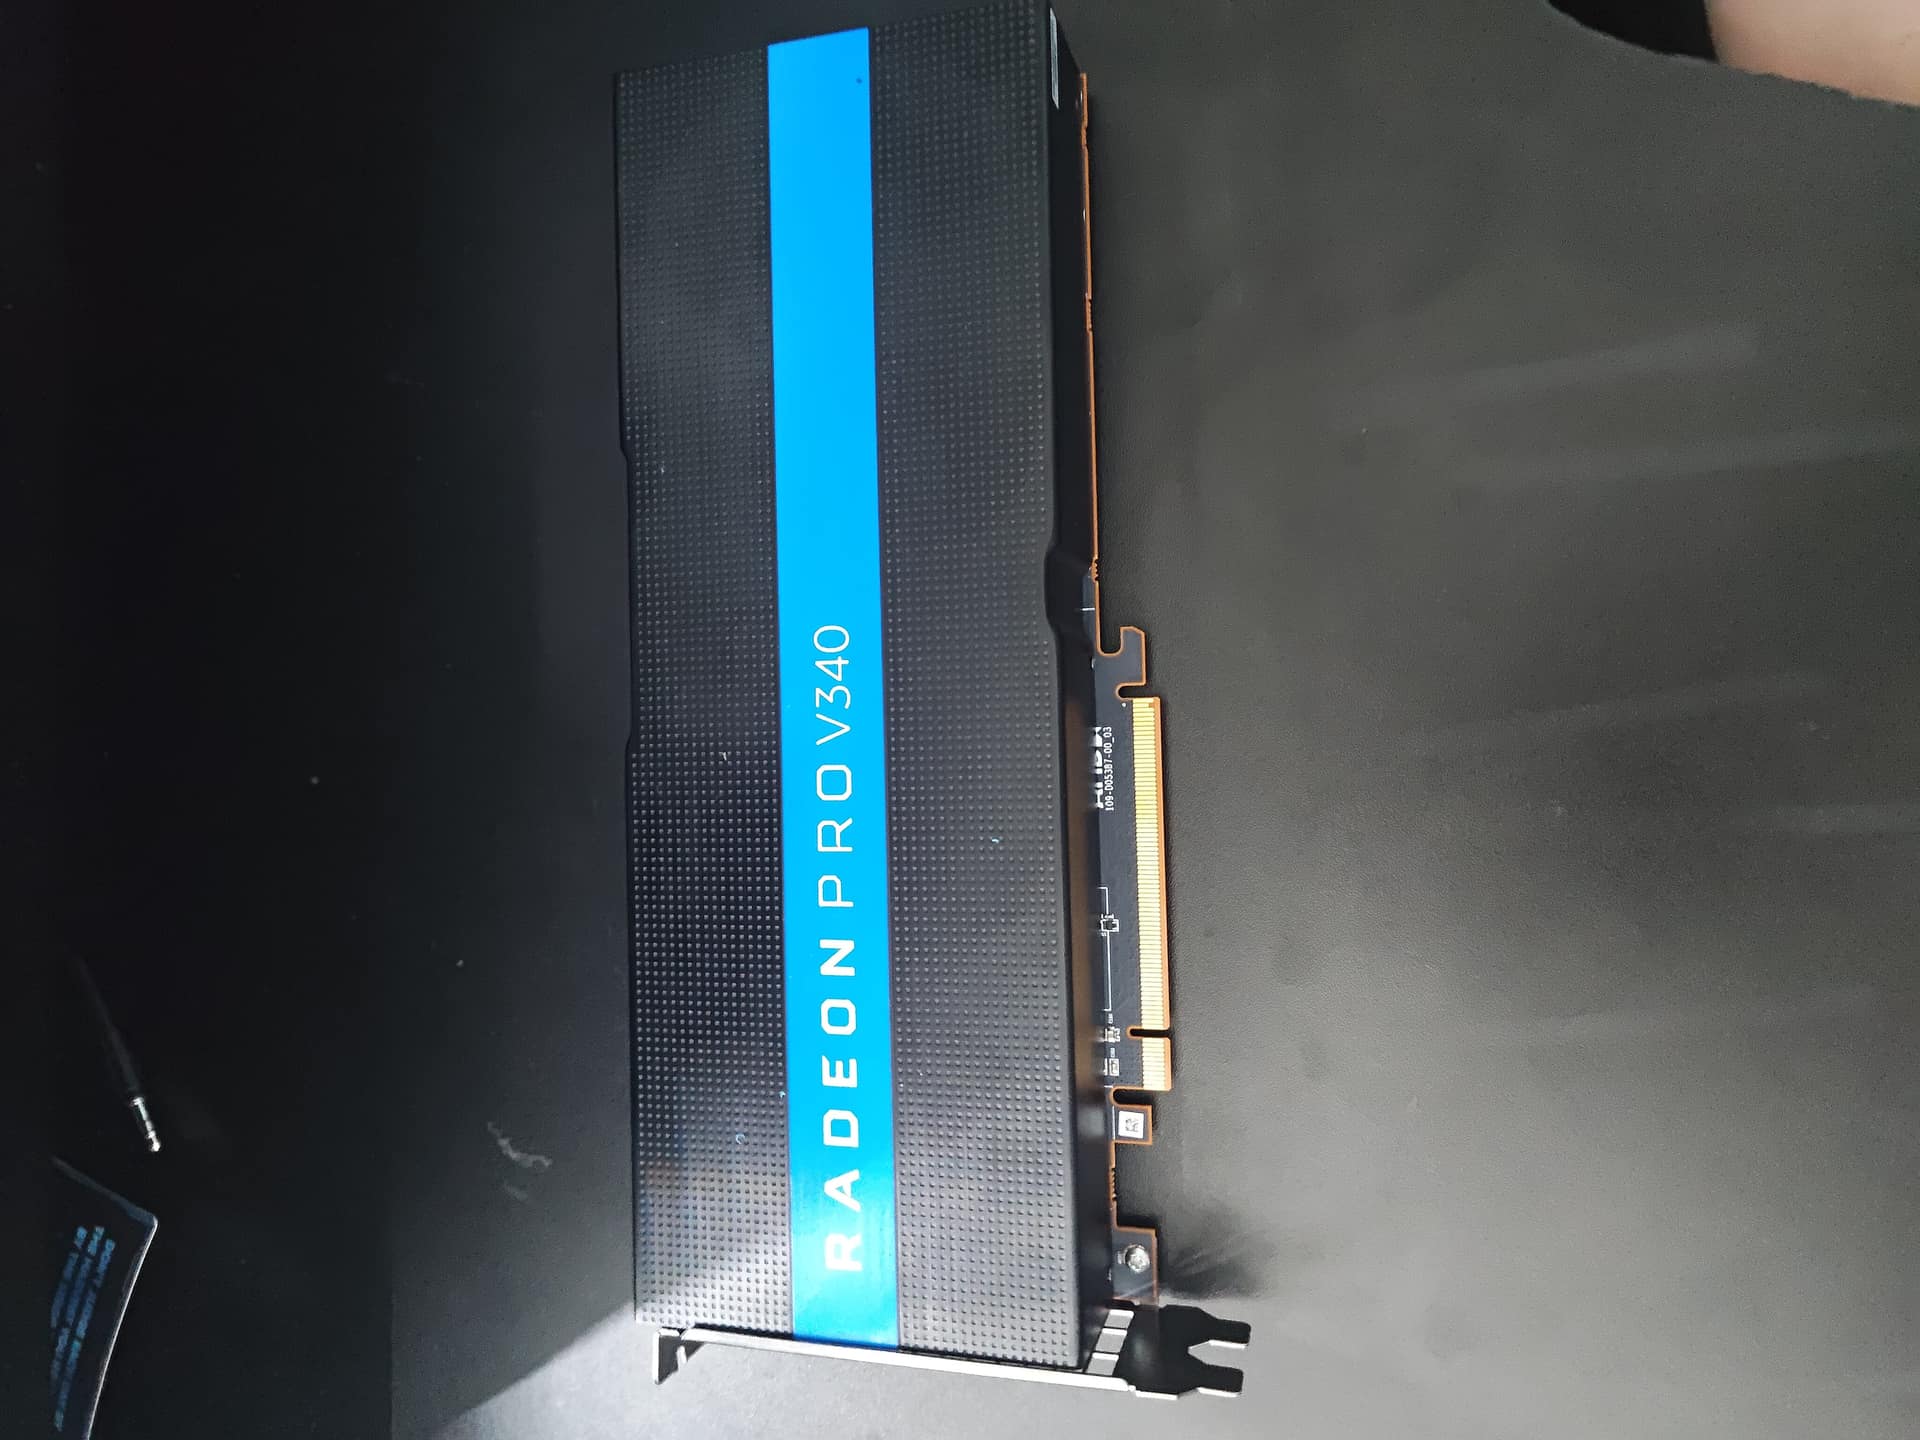
What Is The Radeon Pro V340L
Think of the V340L as the server big brother of the Fiji Pro Duo — AMD’s answer to the question “what if we put two high-end GPUs on one card, but for the datacenter instead of the living room.” Where the Pro Duo was aimed at content creators and VR enthusiasts, the V340L is pure enterprise iron.
The card carries two Vega 10 XL GPUs on a single PCIe board, each one paired with 4GB HBM2 stacks for 8GB per GPU and 16GB total. That HBM2 is part of what makes this card interesting — the same high-bandwidth memory you’d find on a Vega 64 or Vega 56, just doubled up on one board. It runs passively cooled, which means there’s a substantial heatsink doing all the work and it needs proper airflow from the server chassis to survive. AMD rates it at 300W TDP with dual 8-pin power connectors to match.
The real reason this card exists is SR-IOV. Through AMD’s MxGPU technology, the V340L can expose up to 16 virtual GPUs to a hypervisor — hardware-level GPU virtualization without the driver gymnastics that software approaches require. That makes it a natural fit for VDI workloads, cloud gaming infrastructure, and virtualized compute environments. It’s part number 109-D05387 if you’re trying to track one down, and you may recognize its lineage from Google Stadia, where these cards were running in Google’s datacenter racks serving game streams.
There’s also a Microsemi SmartFusion2 security processor onboard — a microcontroller with FPGA fabric that handles secure boot and platform management functions. It’s the kind of component you don’t see on consumer cards and it’s one of the more interesting things to find when you crack this open. For the full story on HBM2 and where it fits in the memory lineage from Fiji through the current datacenter generation, I wrote up the complete HBM history here.
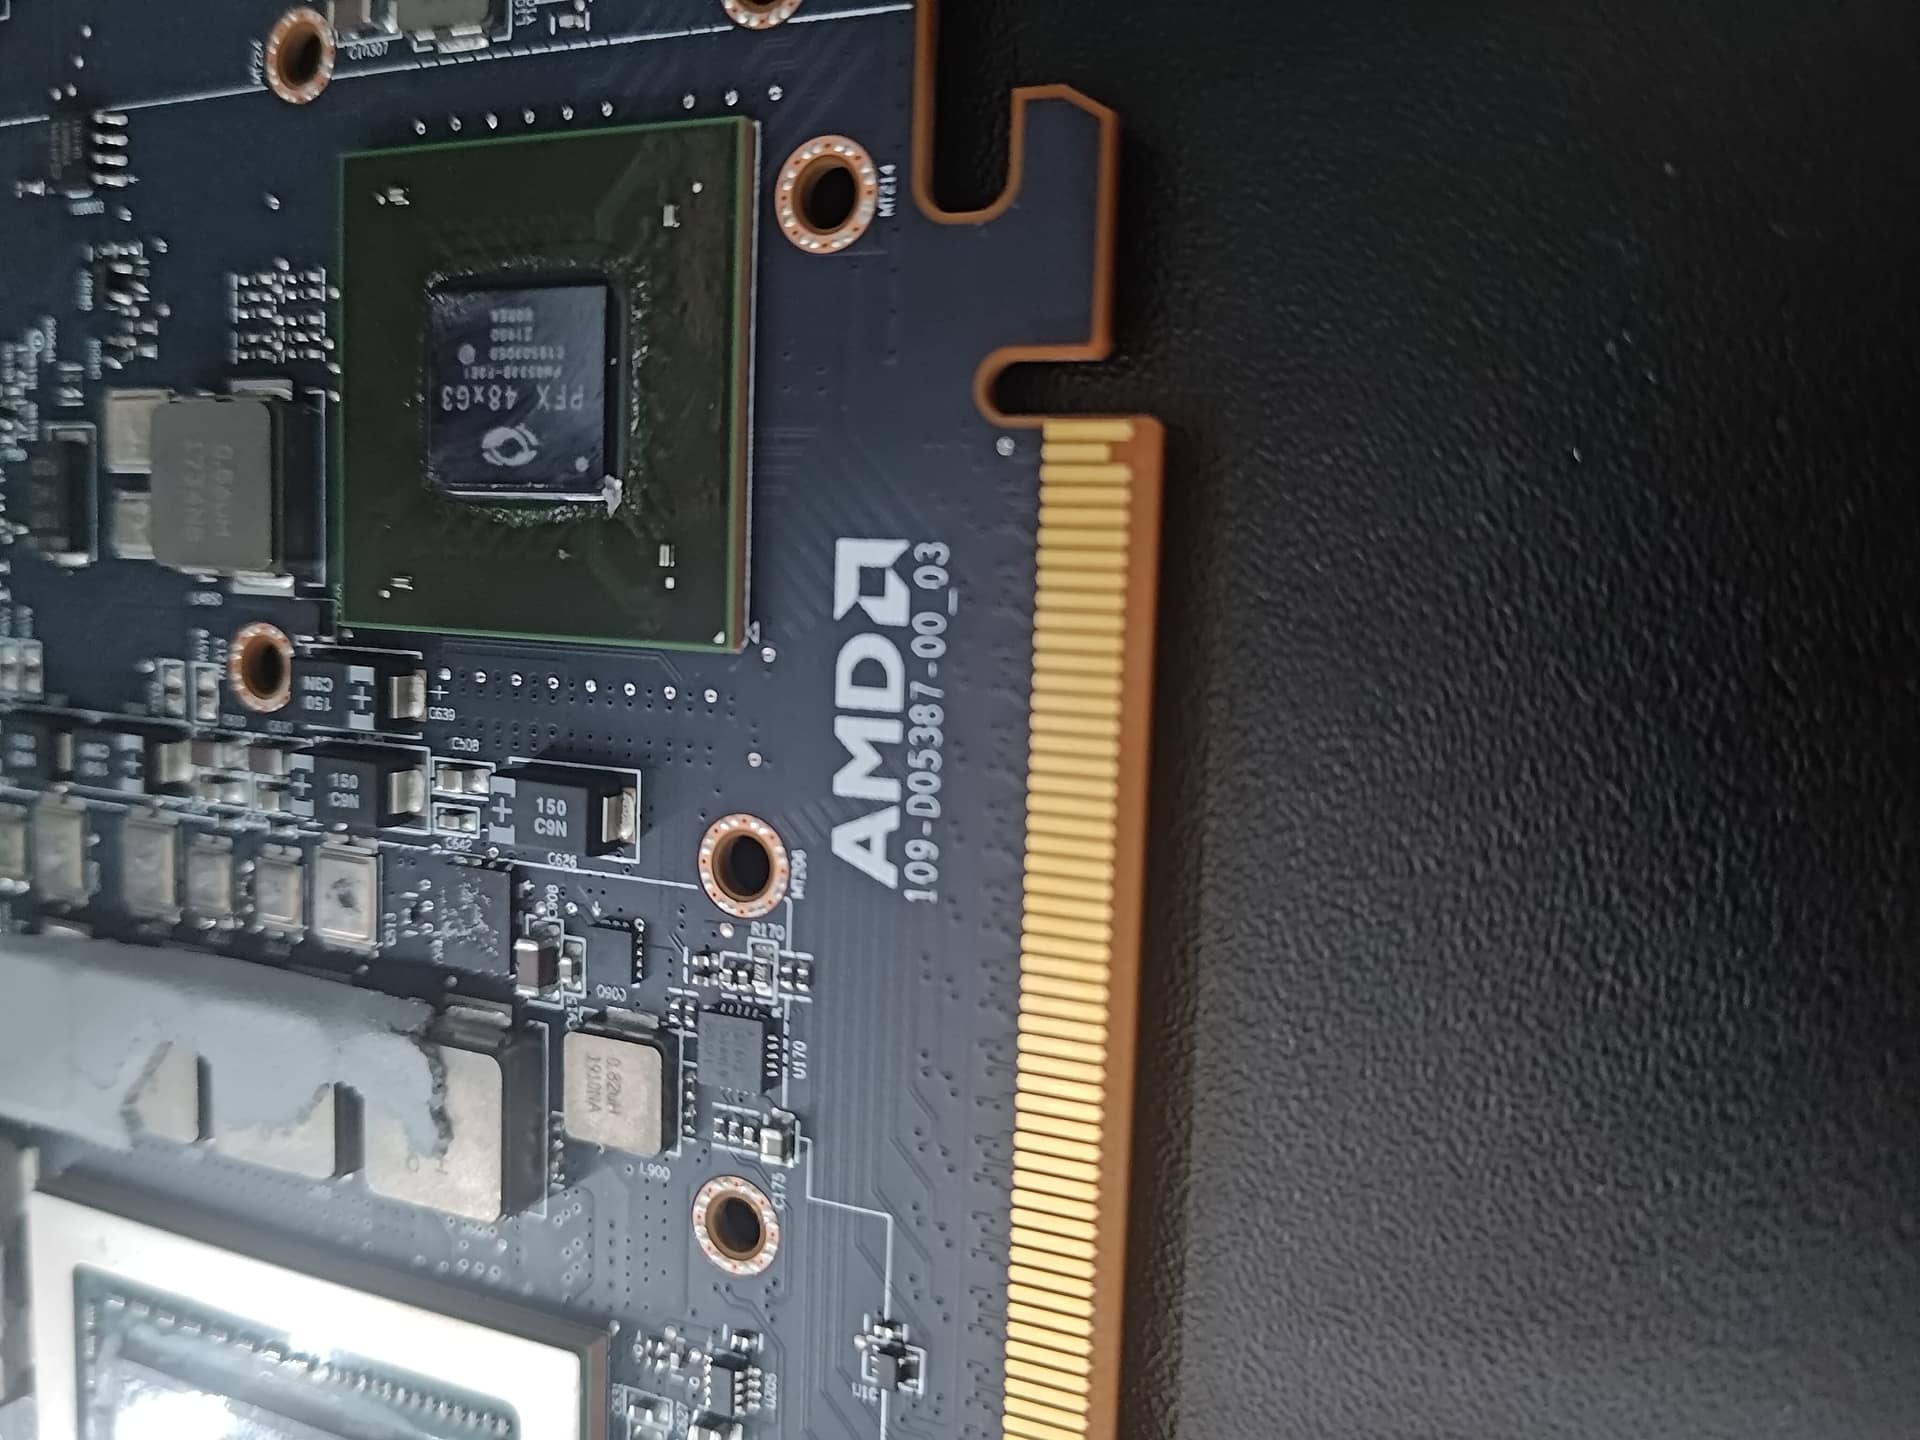 Part number 109-D05387 stamped right on the board.
Disassembly
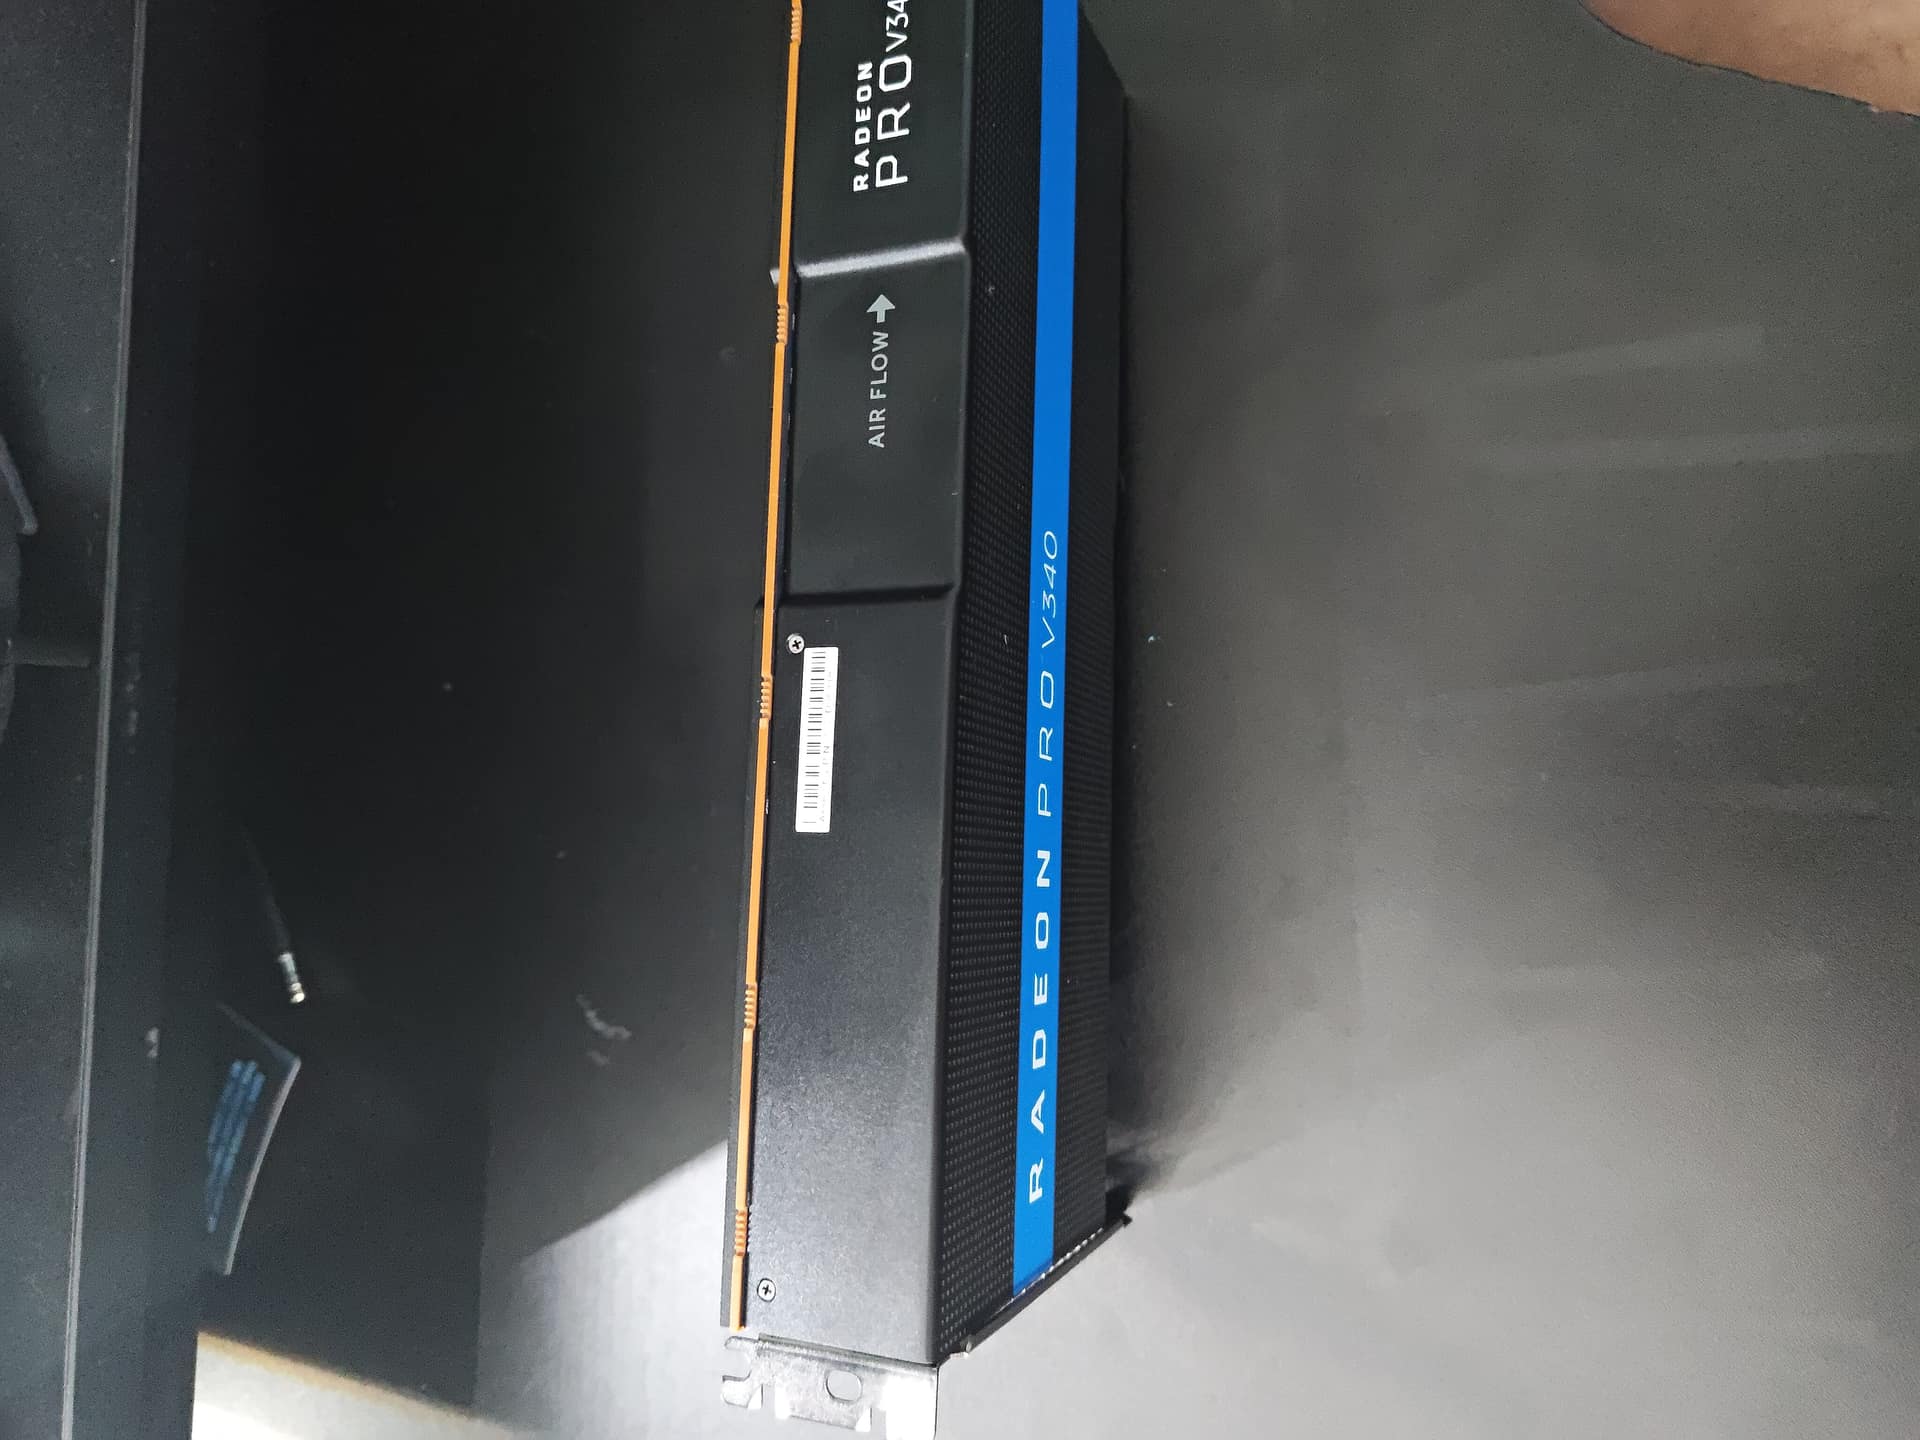 The V340L fully intact before anything comes off.
Step 1 — Shroud removal. Three screws on each side of the shroud, six total. They’re straightforward Phillips heads along the edges. Once they’re out the shroud lifts straight off — no clips, no prying needed.
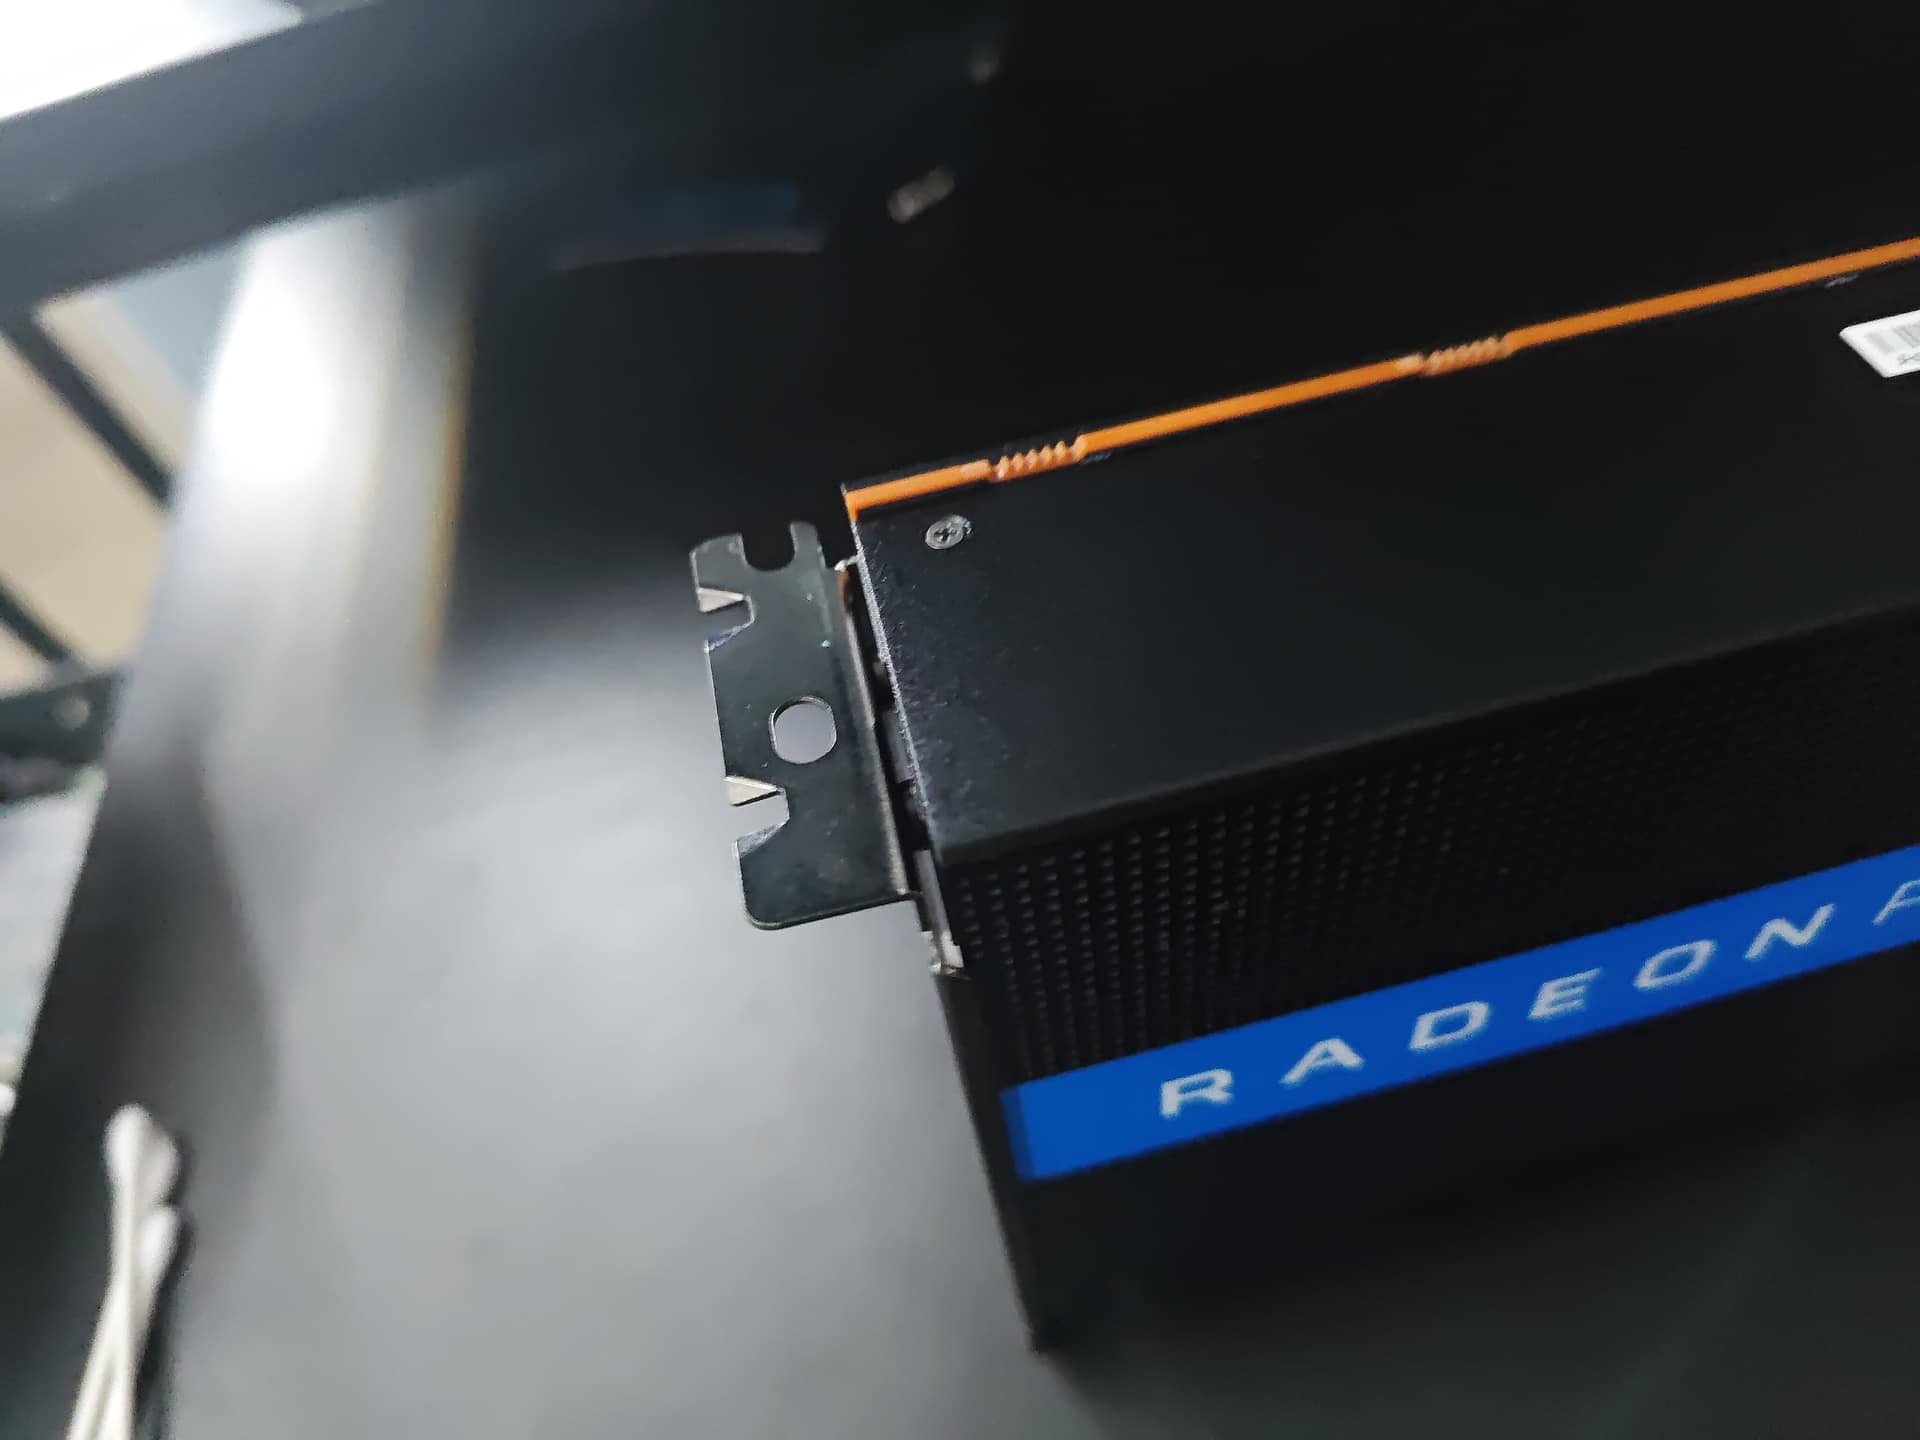 Step 1: three screws each side and the shroud is free.
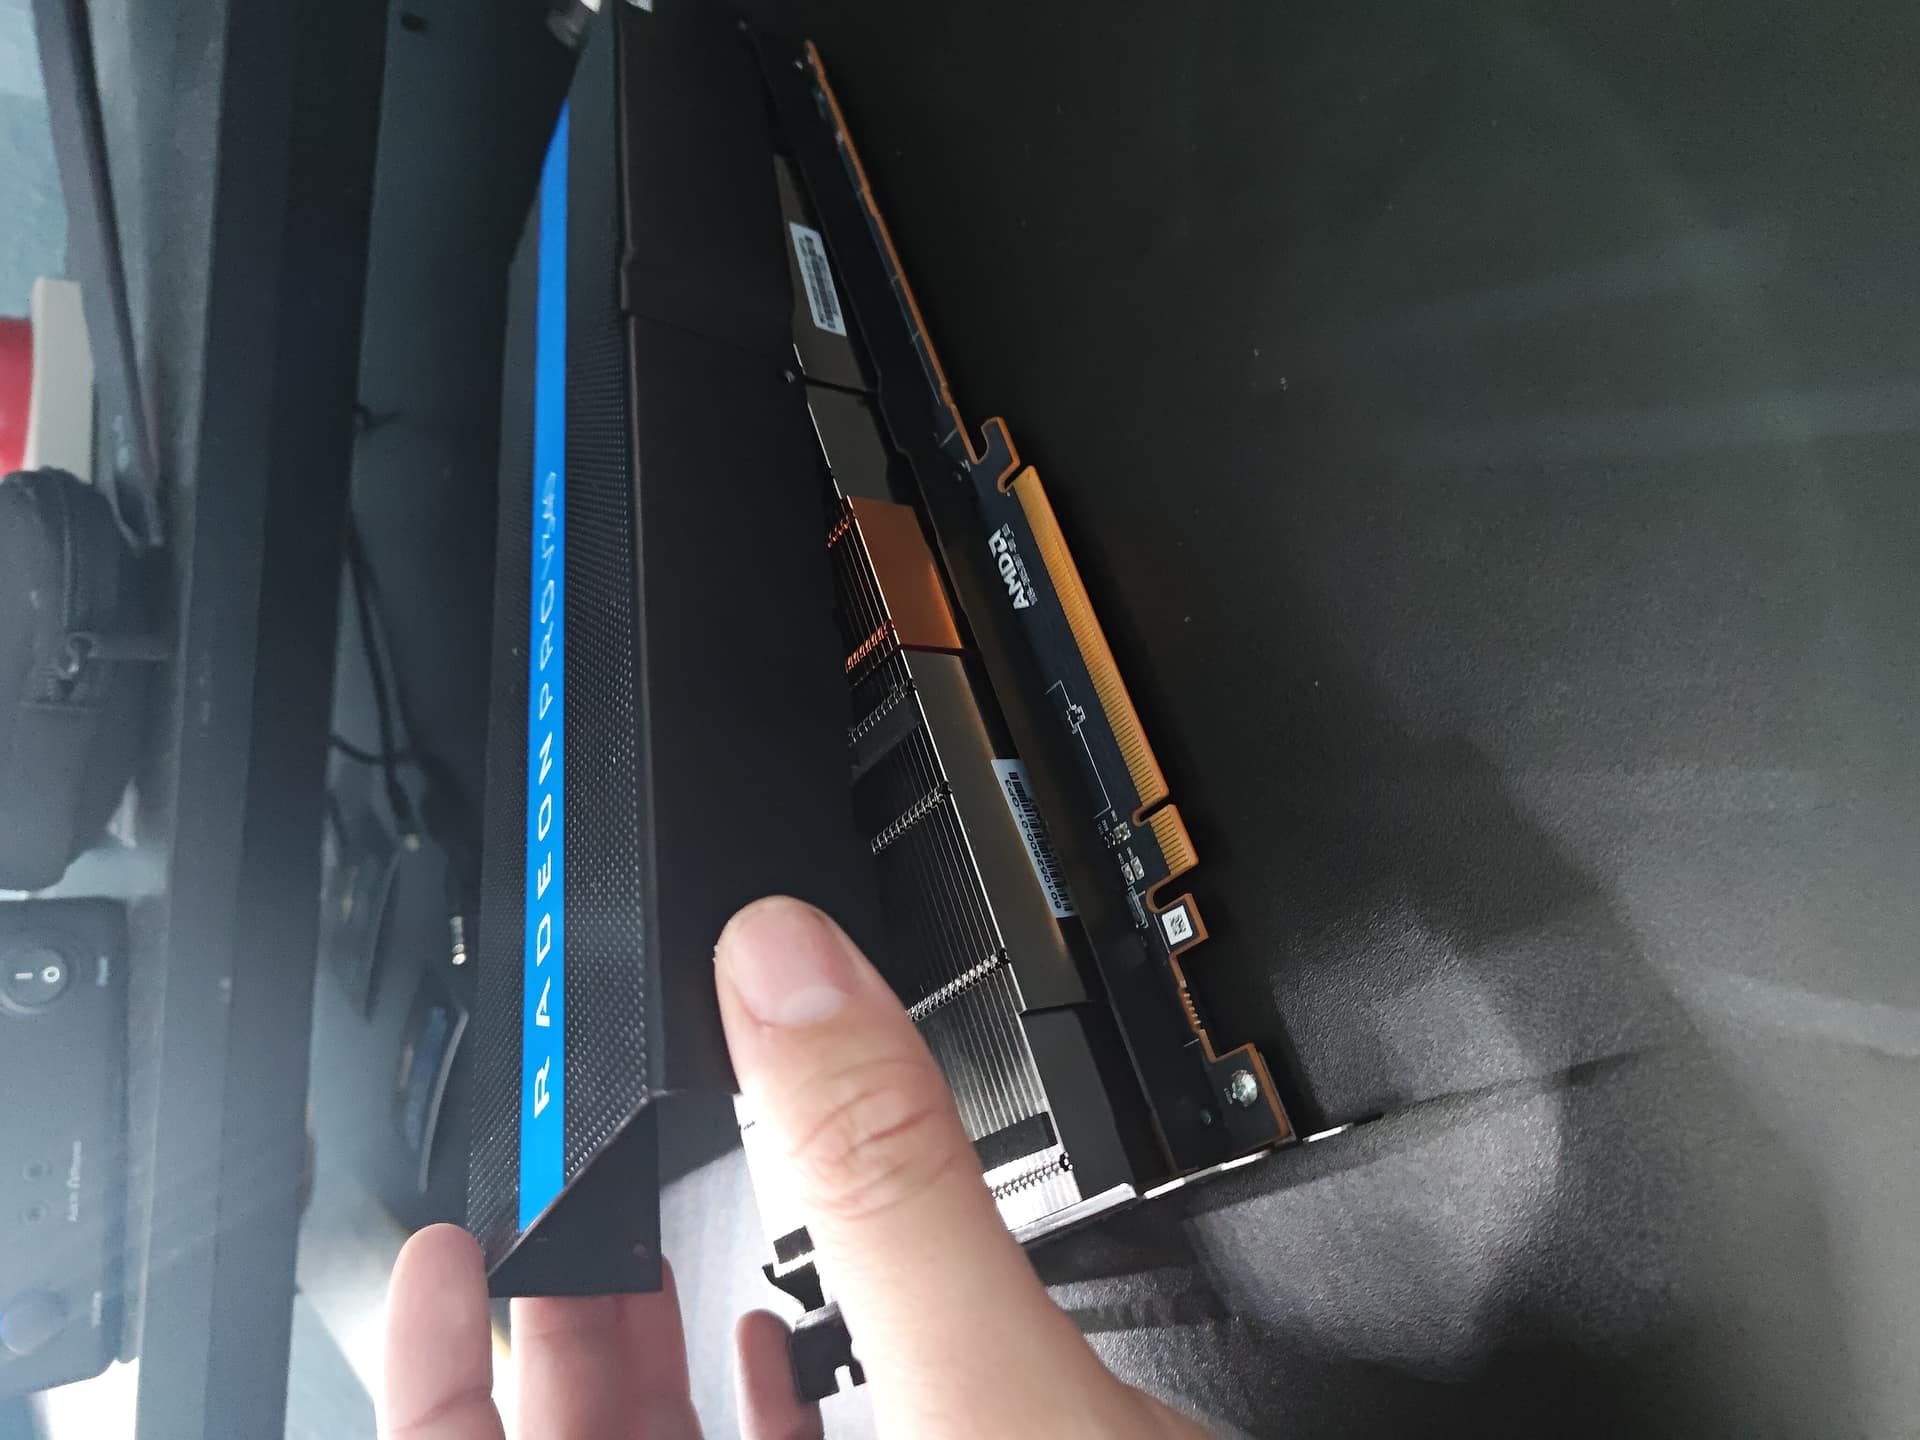 Shroud coming straight off — no resistance.
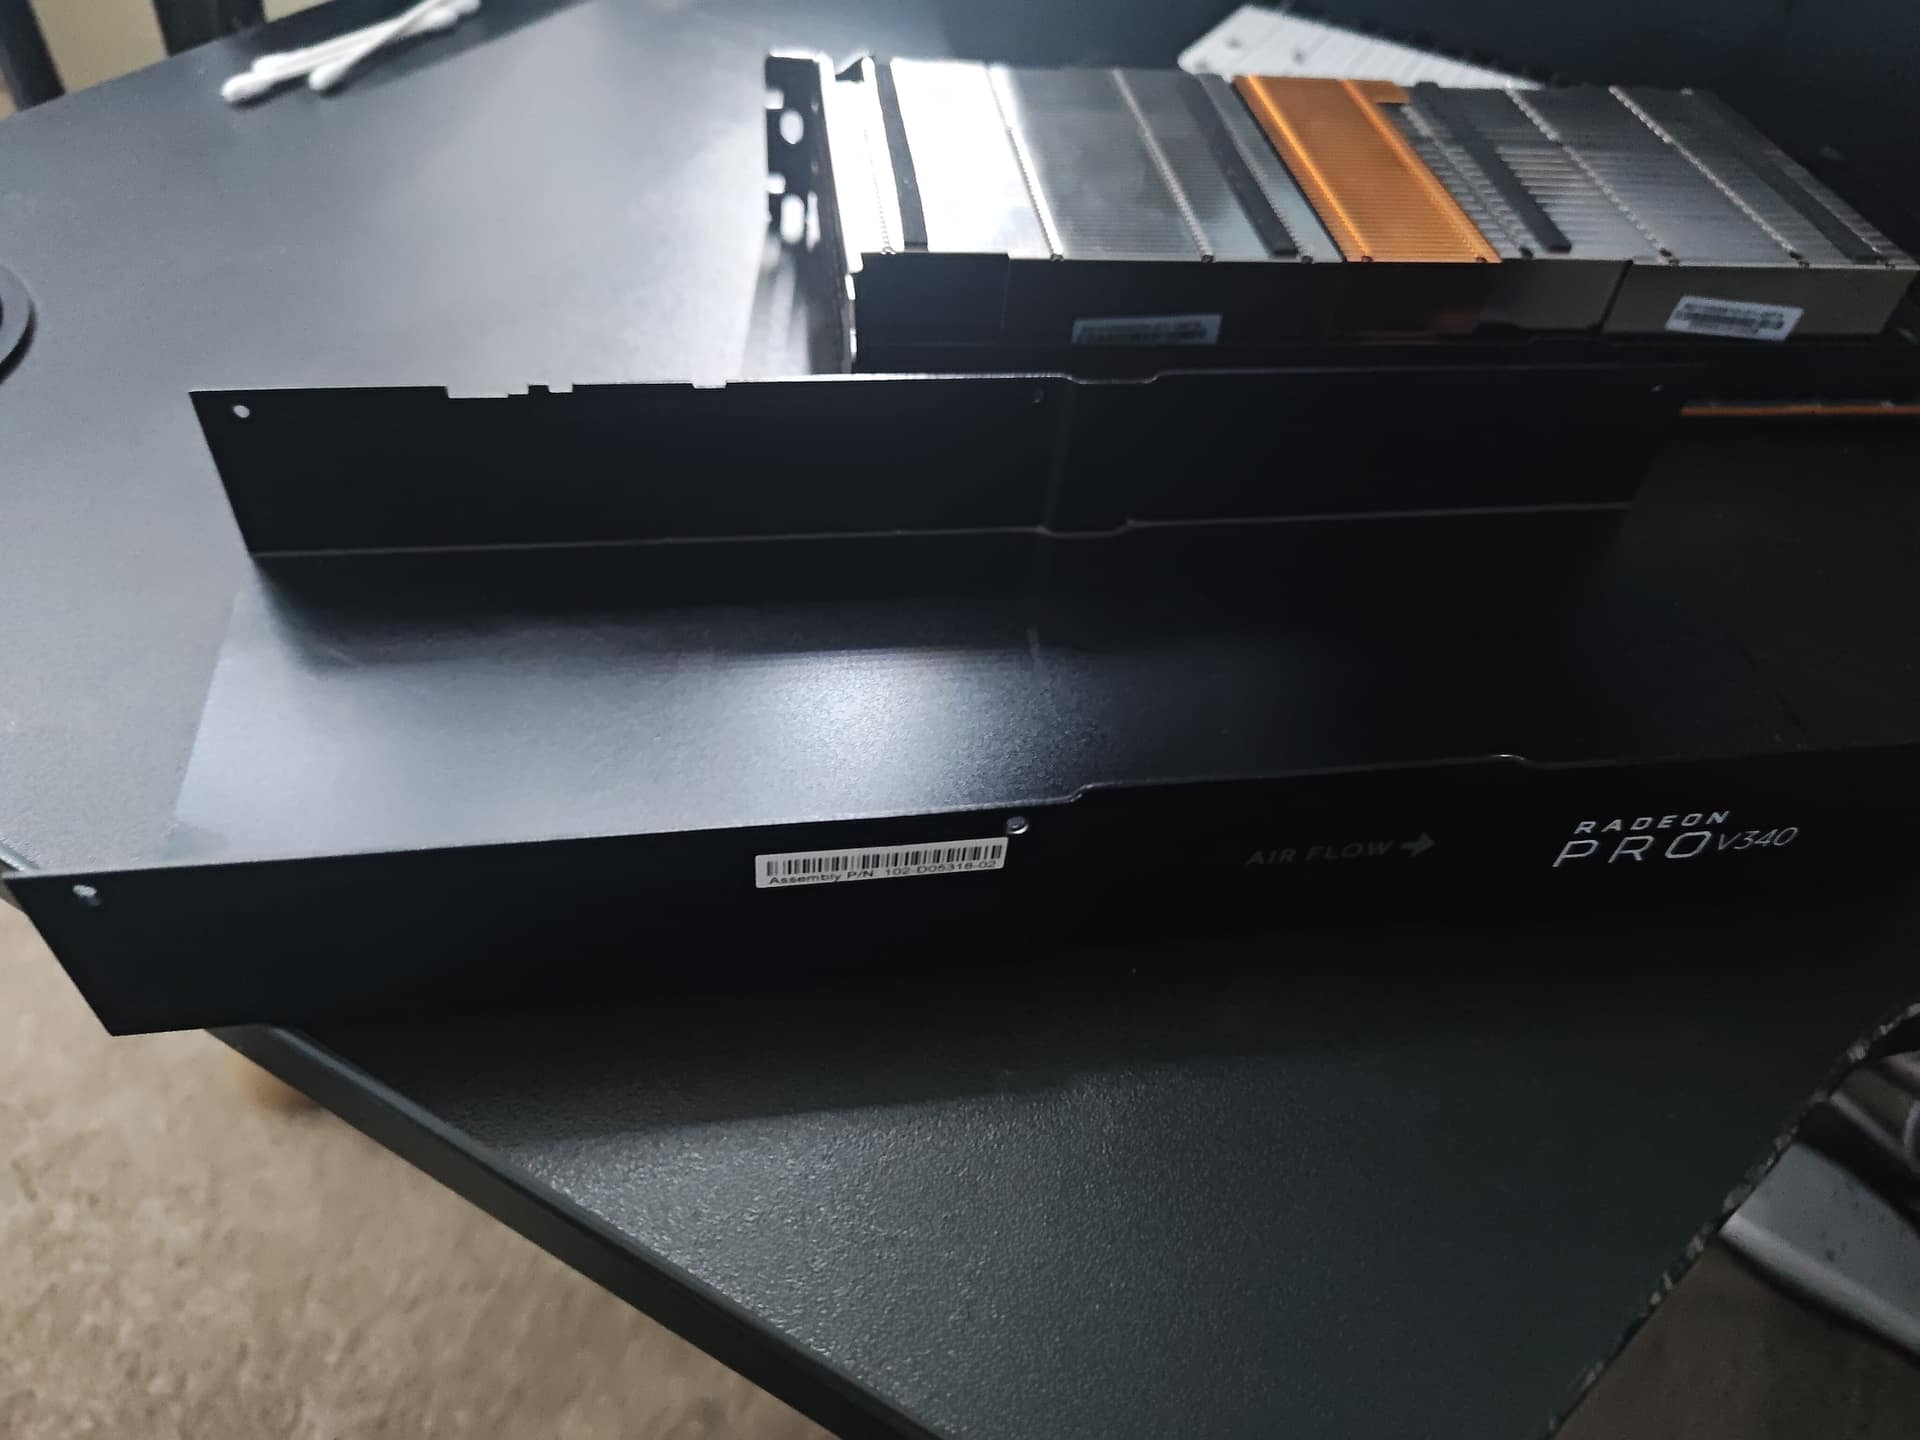 The shroud laid flat. Simple construction.
Step 2 — I/O bracket. Two screws hold the I/O bracket to the PCIe slot end of the card. Pull those and set the bracket aside.
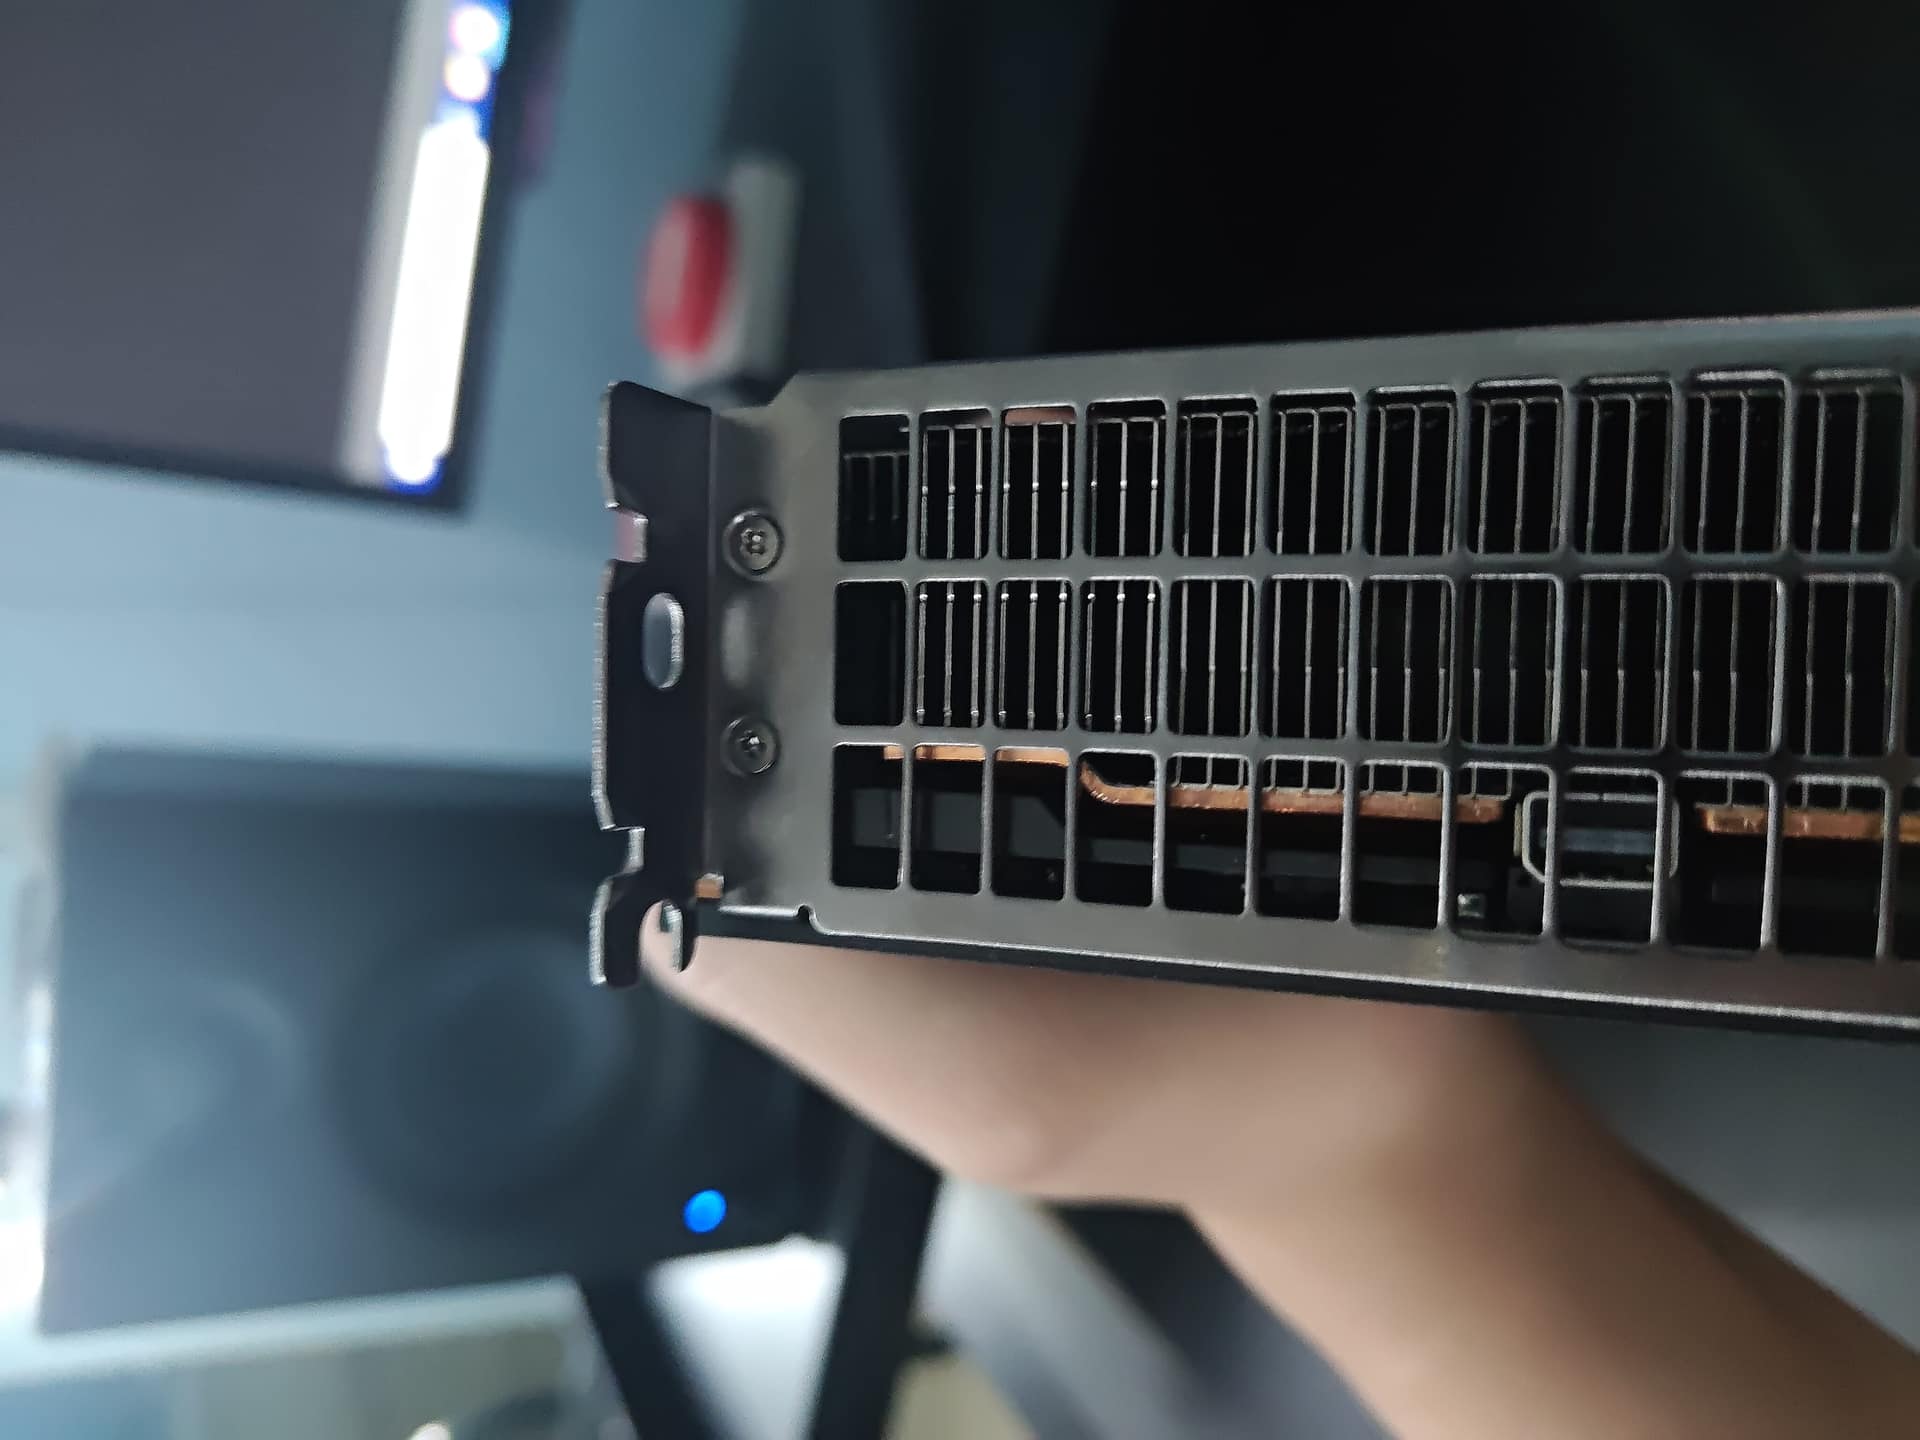 Step 2: two screws and the I/O bracket comes off.
Step 3 — Backplate. This is where you need patience. There are 23 screws holding the backplate and VRM area down. Count them. The one I nearly missed is hiding under a sticker — peel it back before you start hunting for why the backplate won’t budge. Once all 23 are out the backplate lifts straight off without any force.
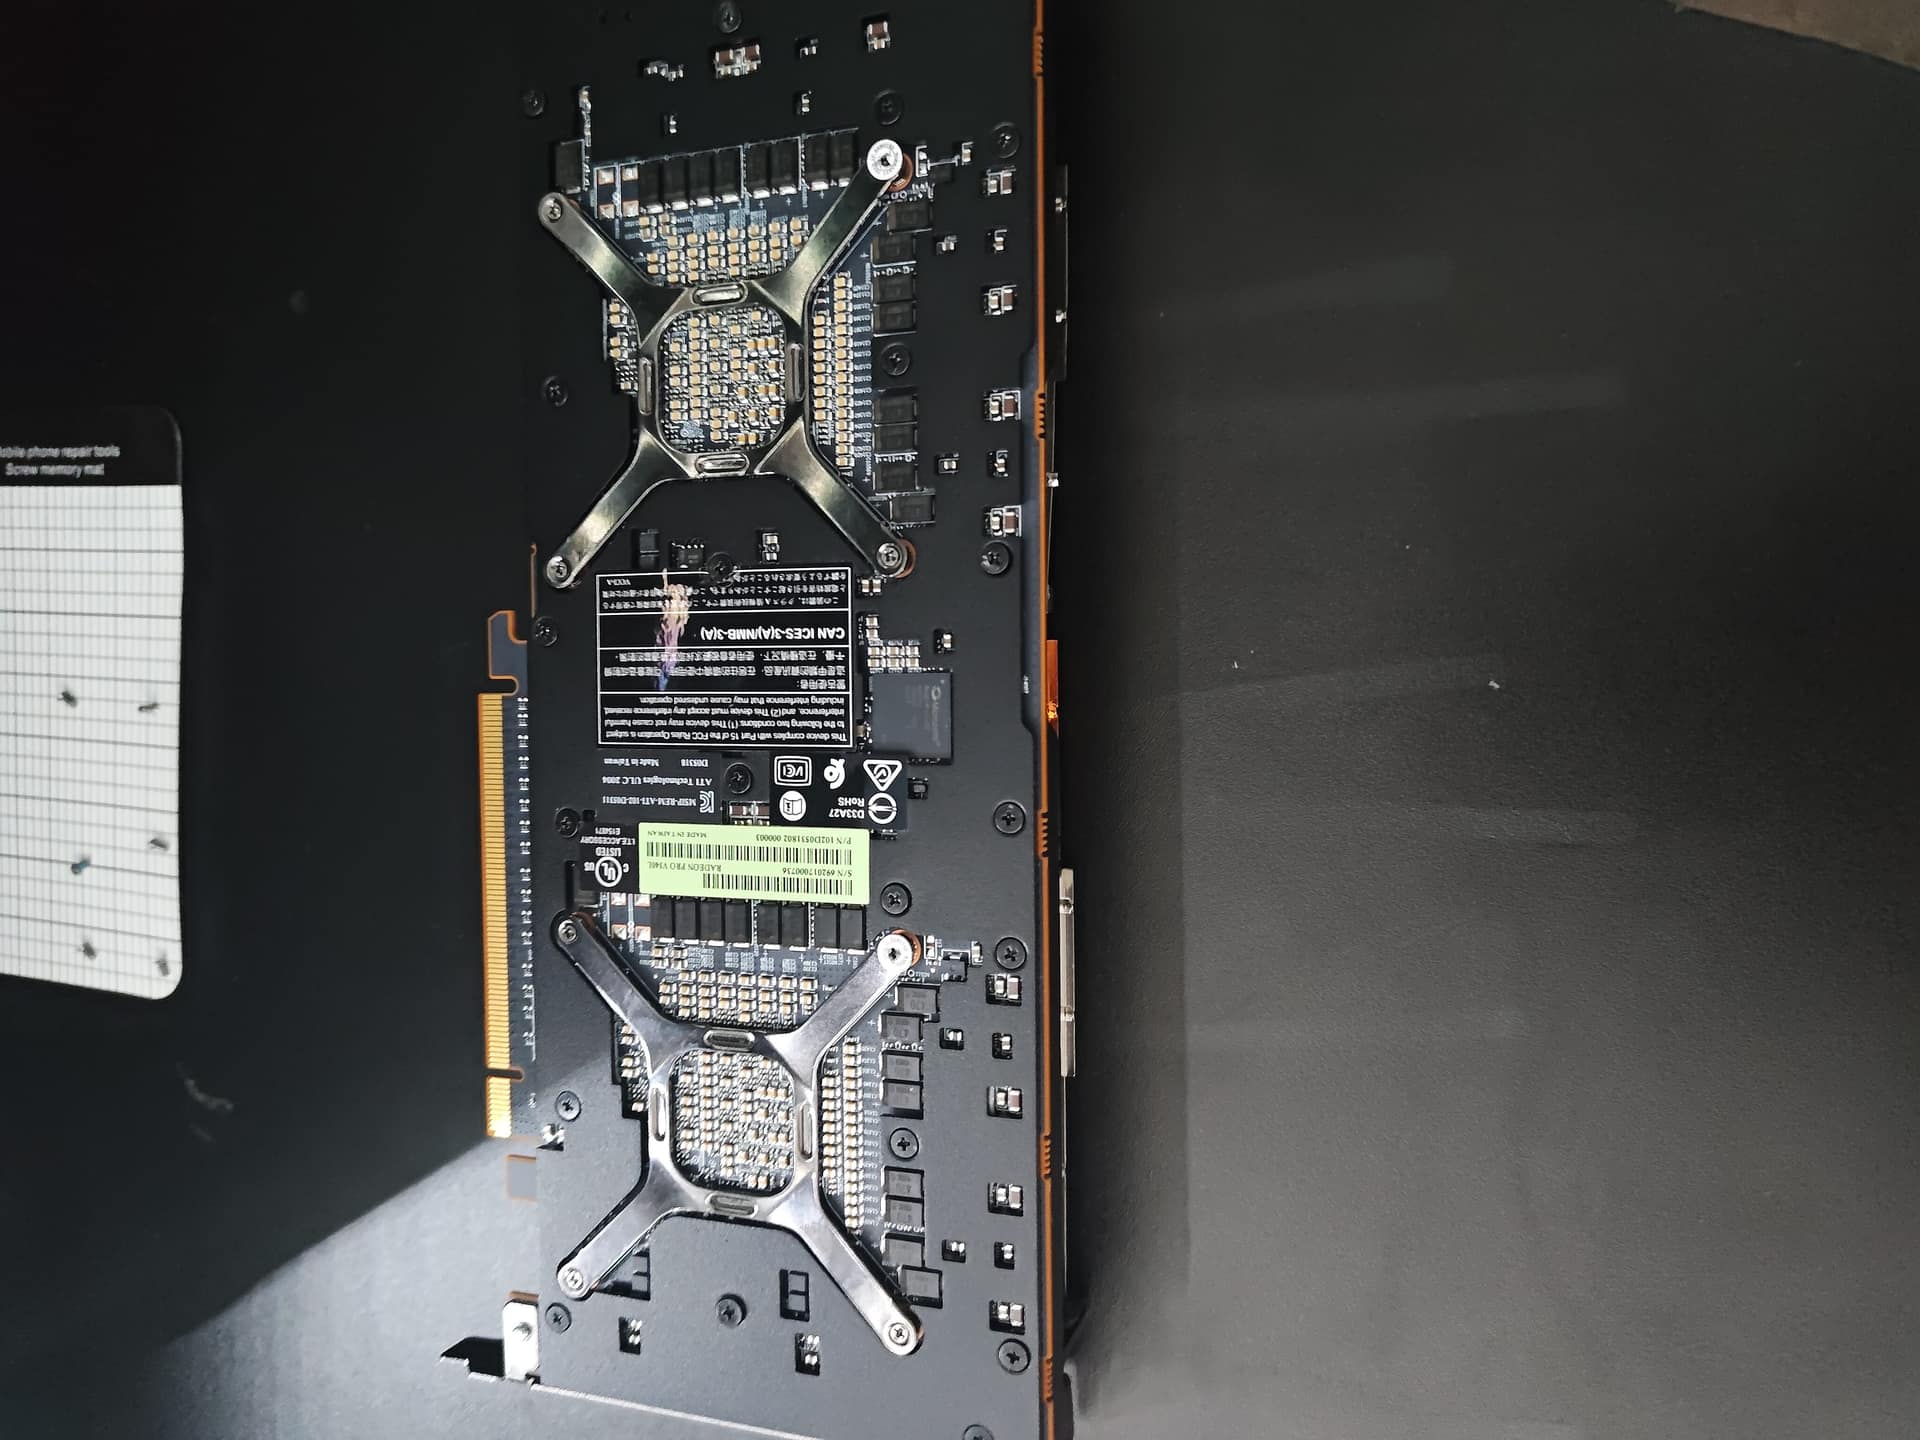 Step 3: 23 screws total. Count before you start.
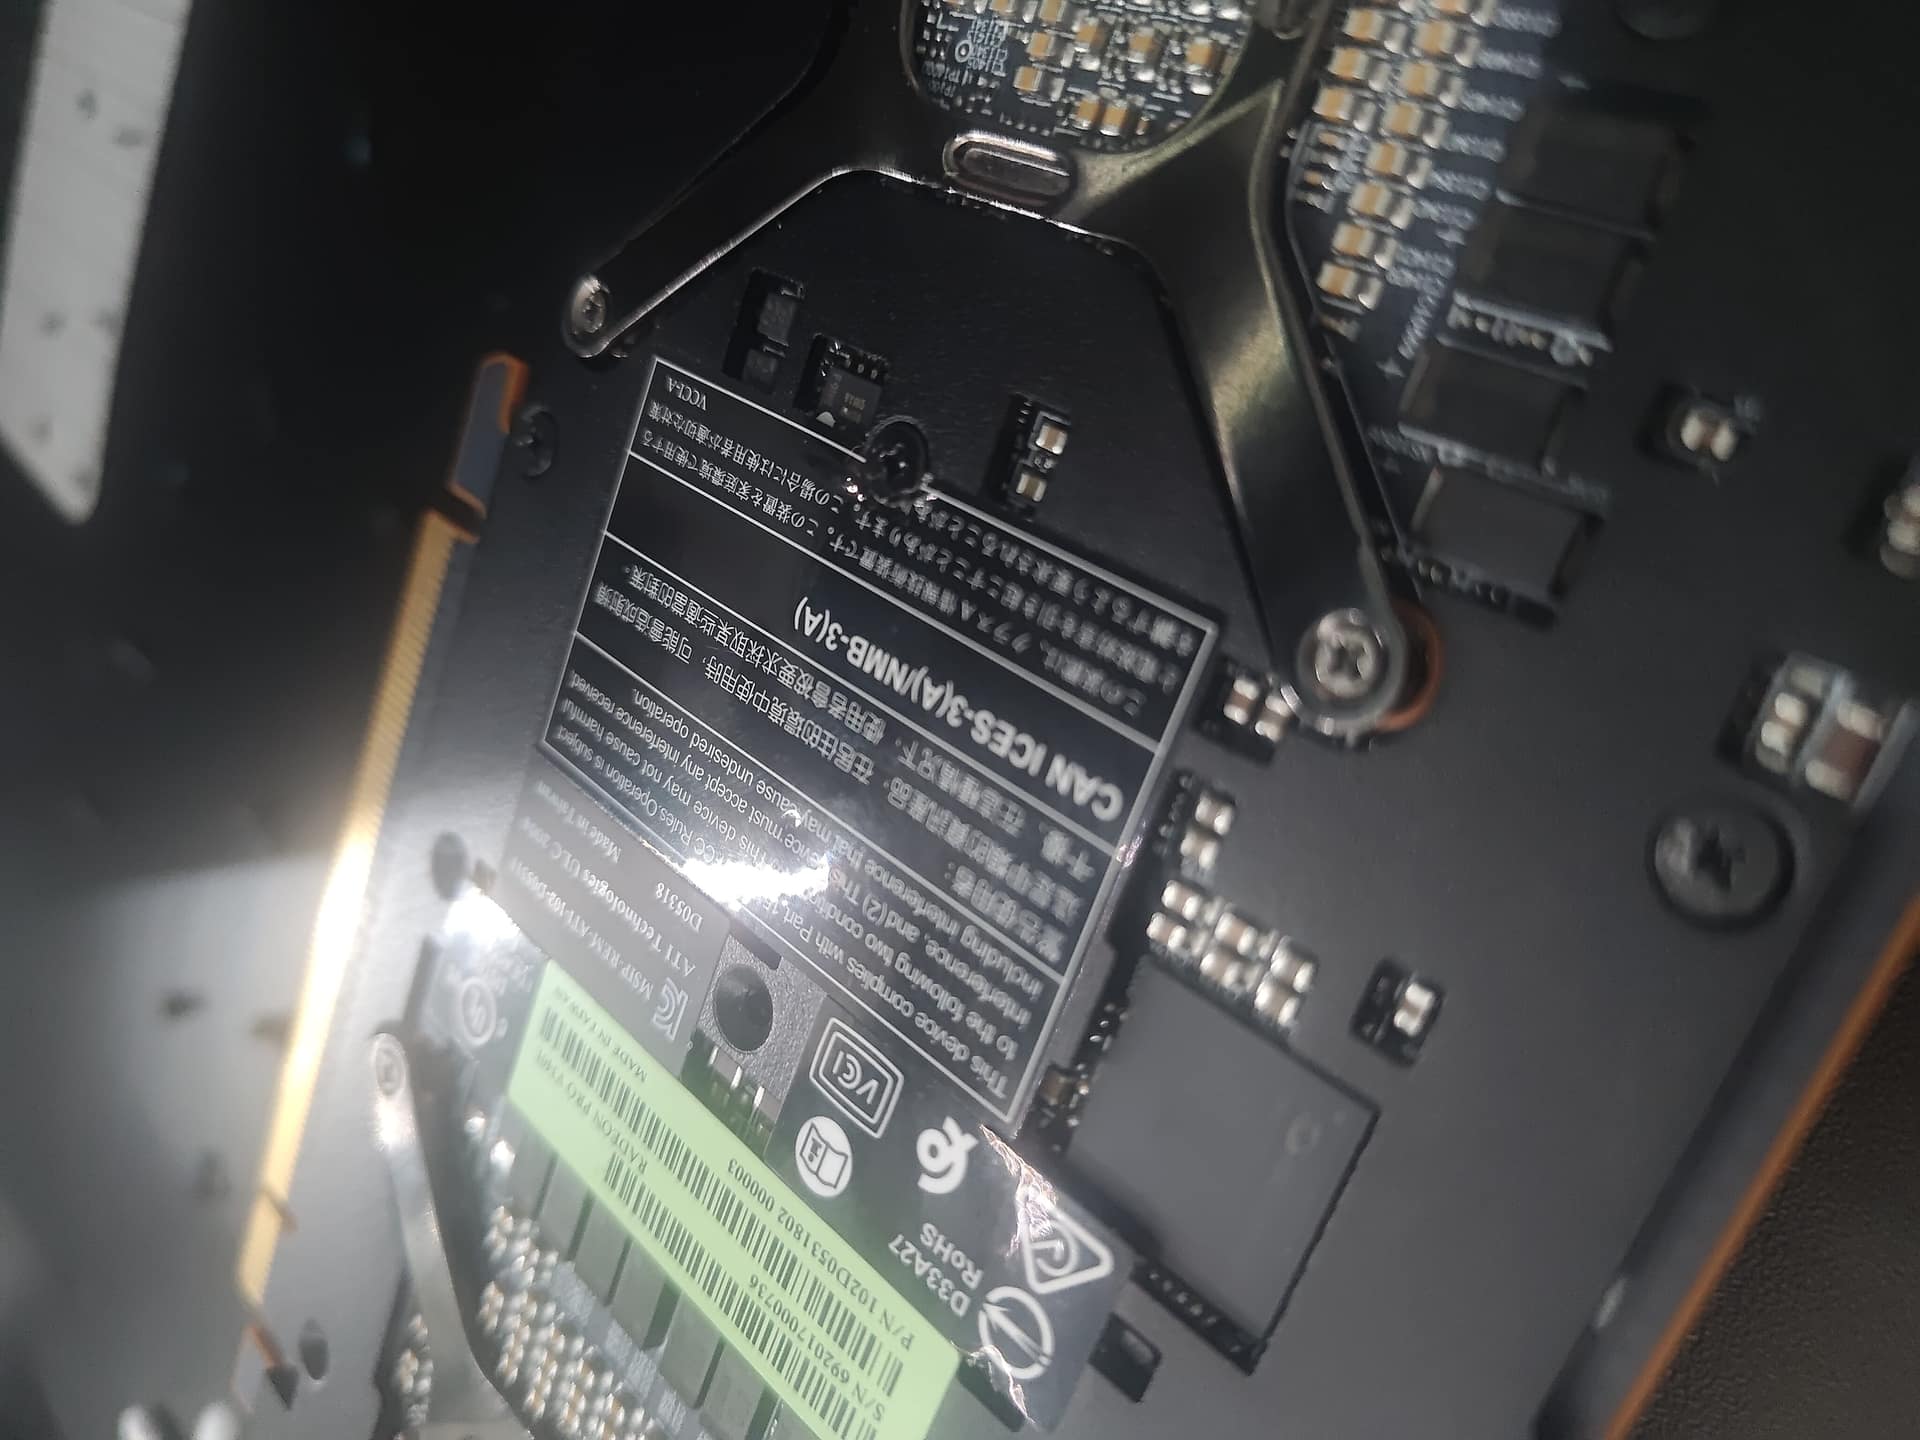 That sticker is hiding a screw. Don’t skip it.
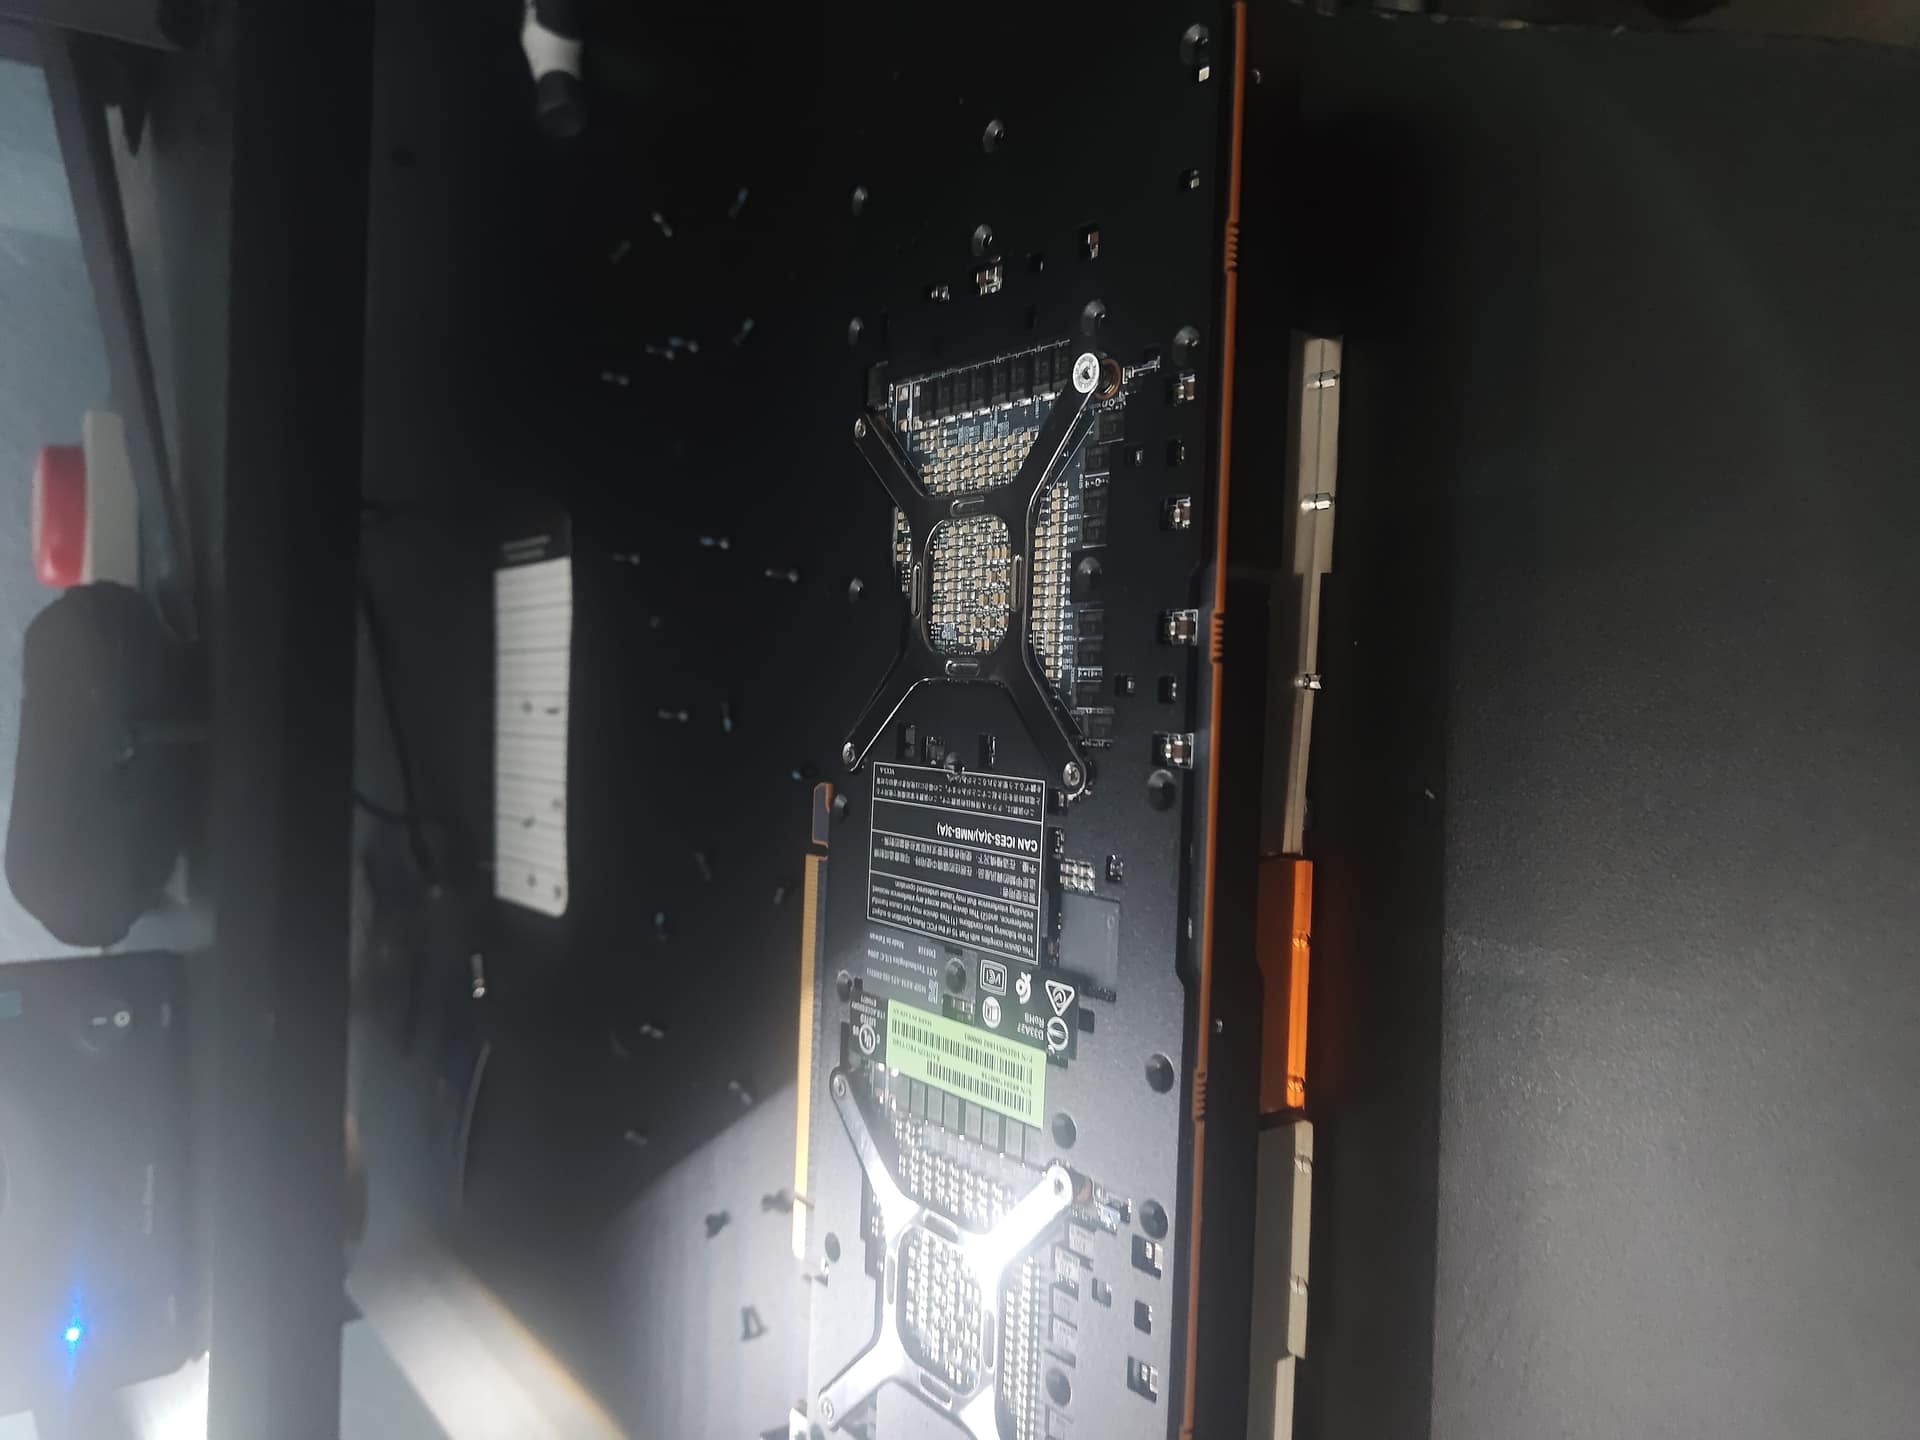 All 23 out. The backplate is ready to lift.
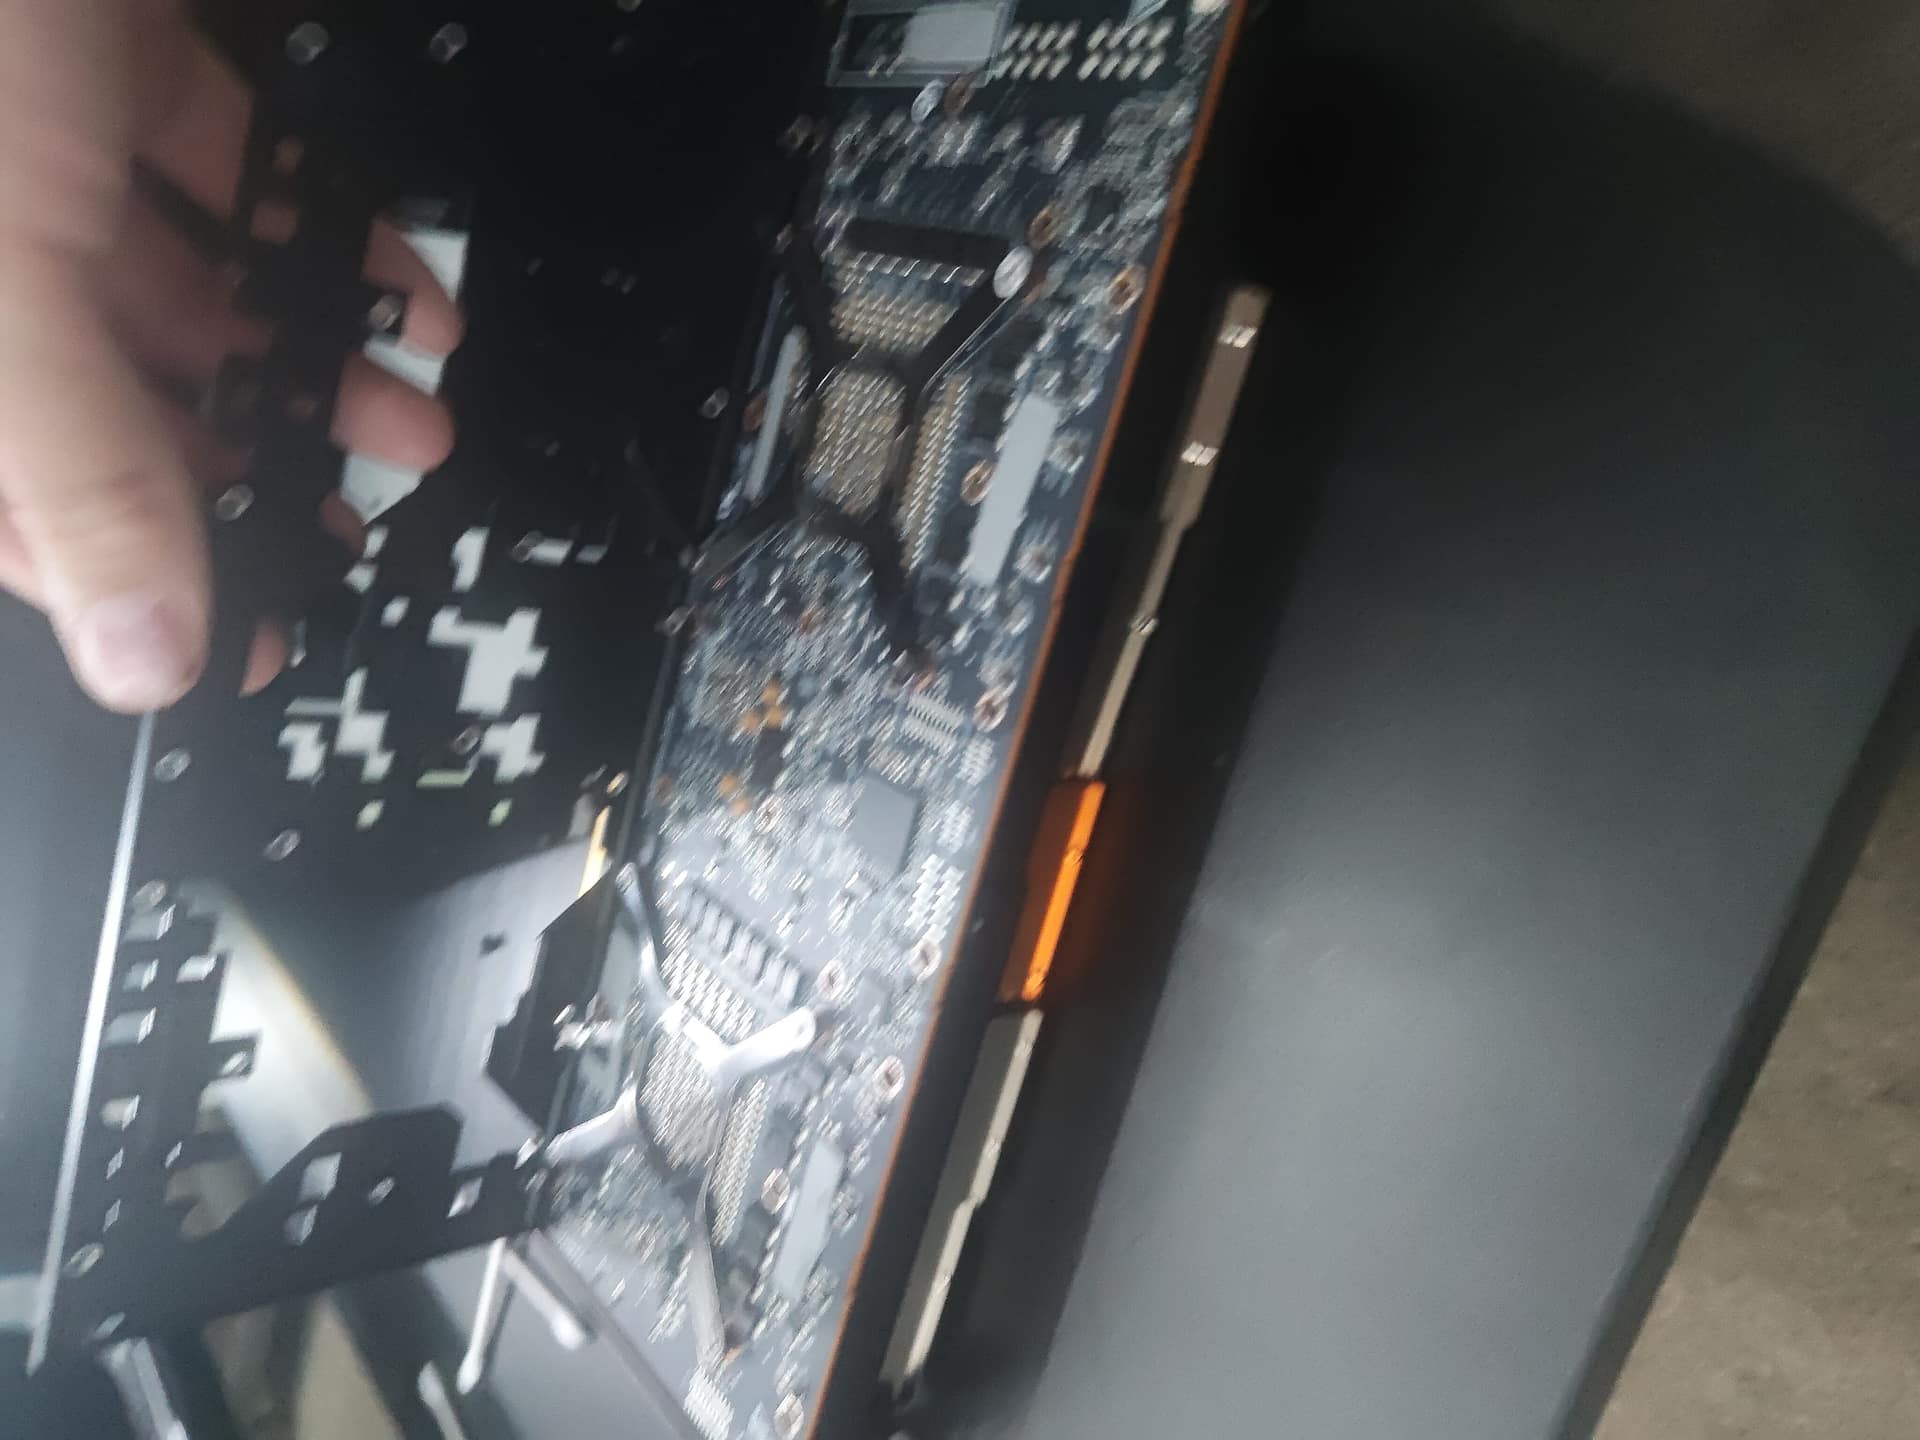 Backplate off. The full PCB is exposed.
Step 4 — Core retention bracket. The retention bracket around the GPU dies comes off next. Work the screws out in a cross pattern — same as you would with a CPU cooler — to release the pressure evenly.
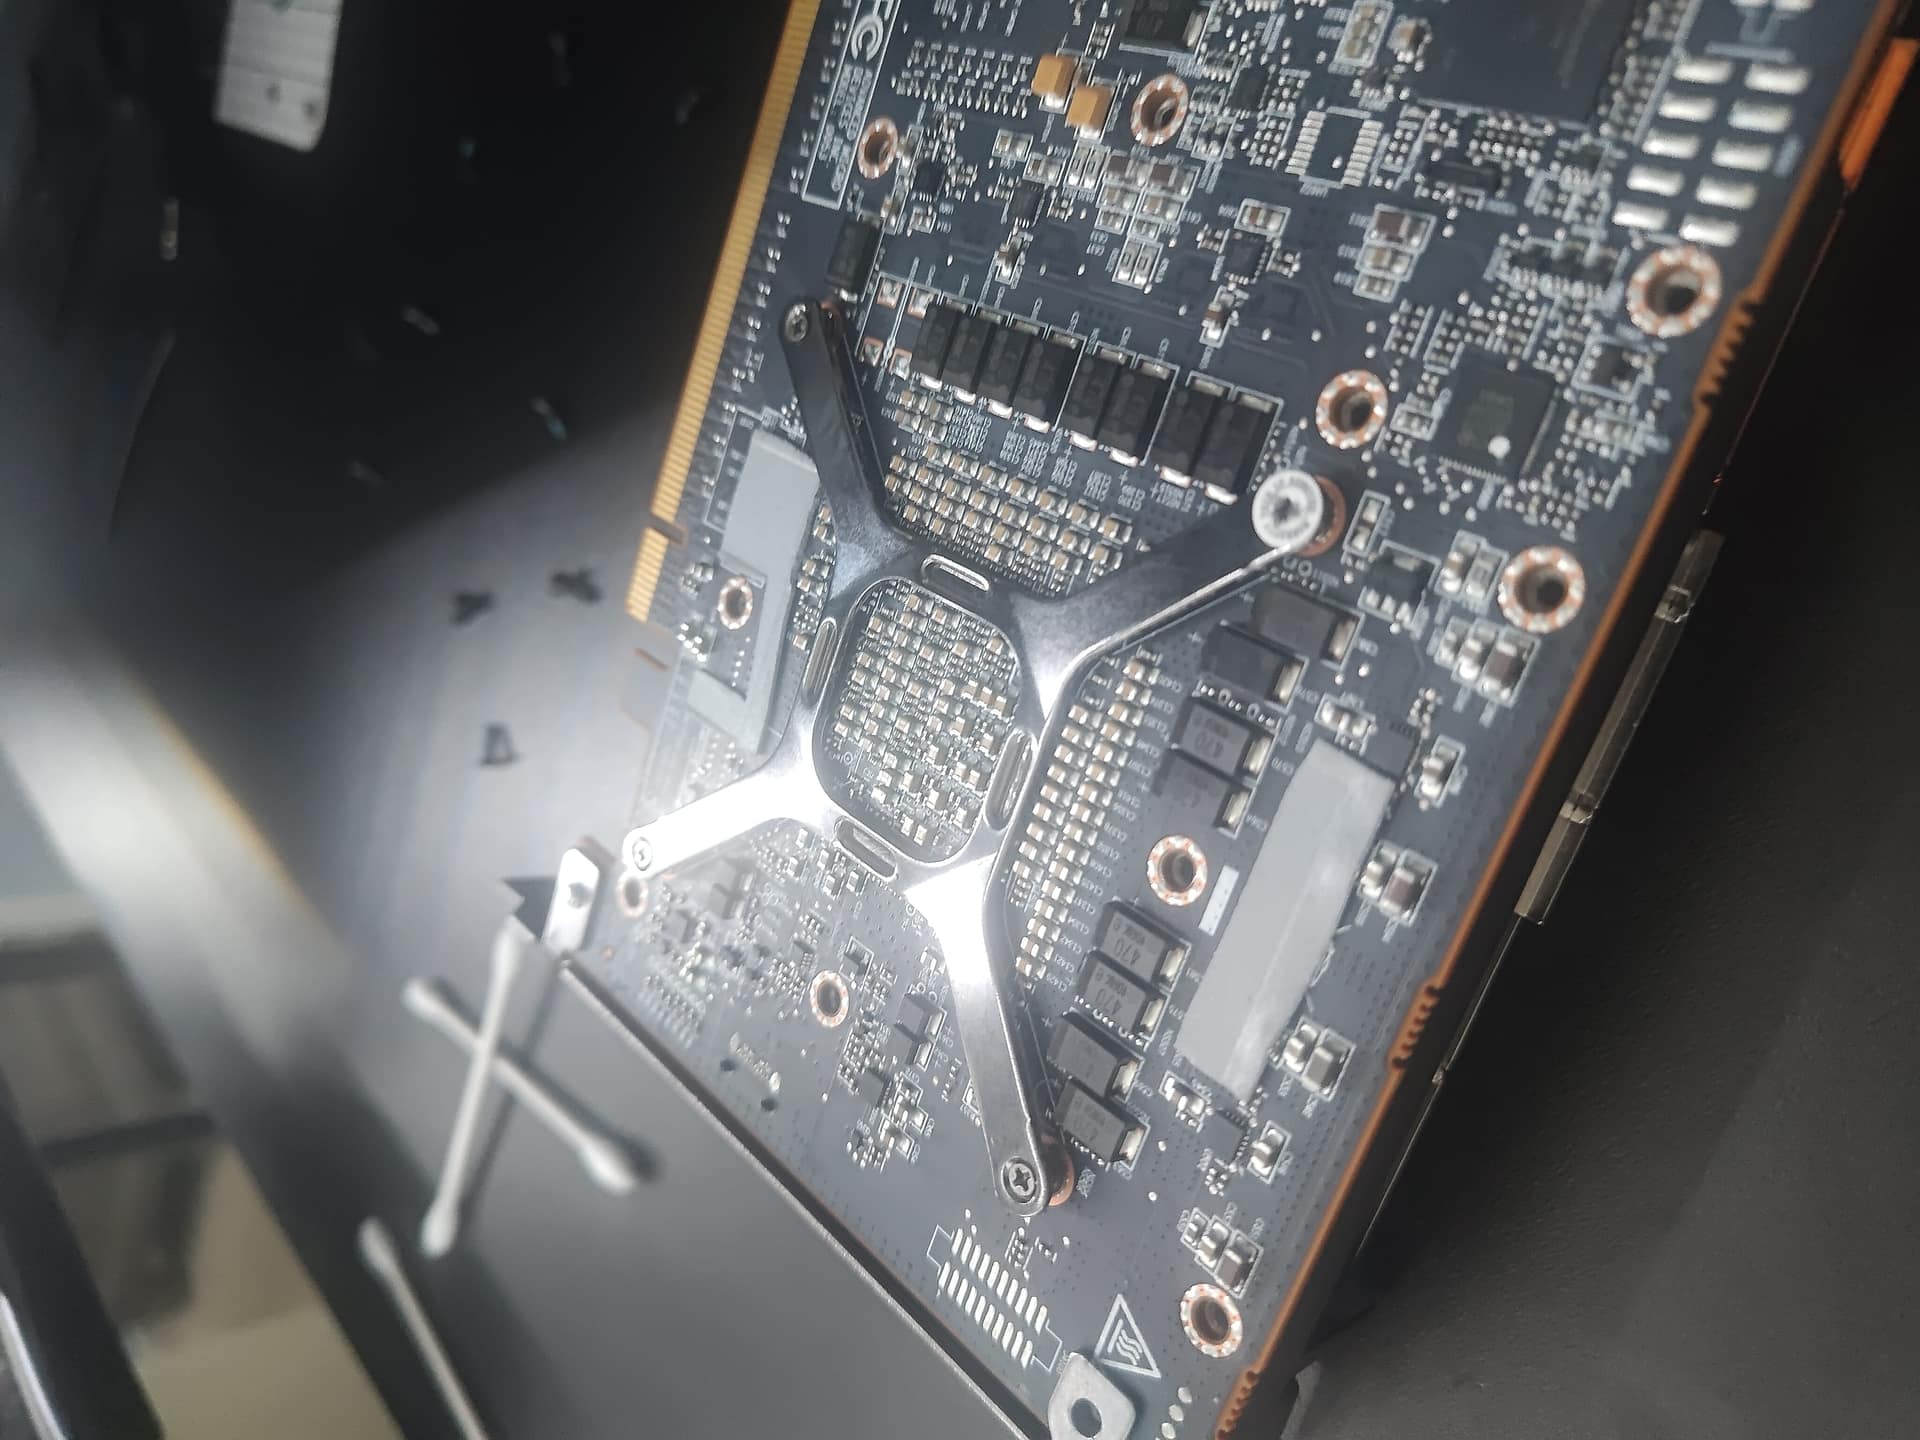 Step 4: cross pattern on the retention bracket screws.
Step 5 — Left GPU heatsink. Once the bracket is off, carefully lift the left GPU heatsink off the left die. It should come up cleanly. Don’t rock it or slide it — straight up.
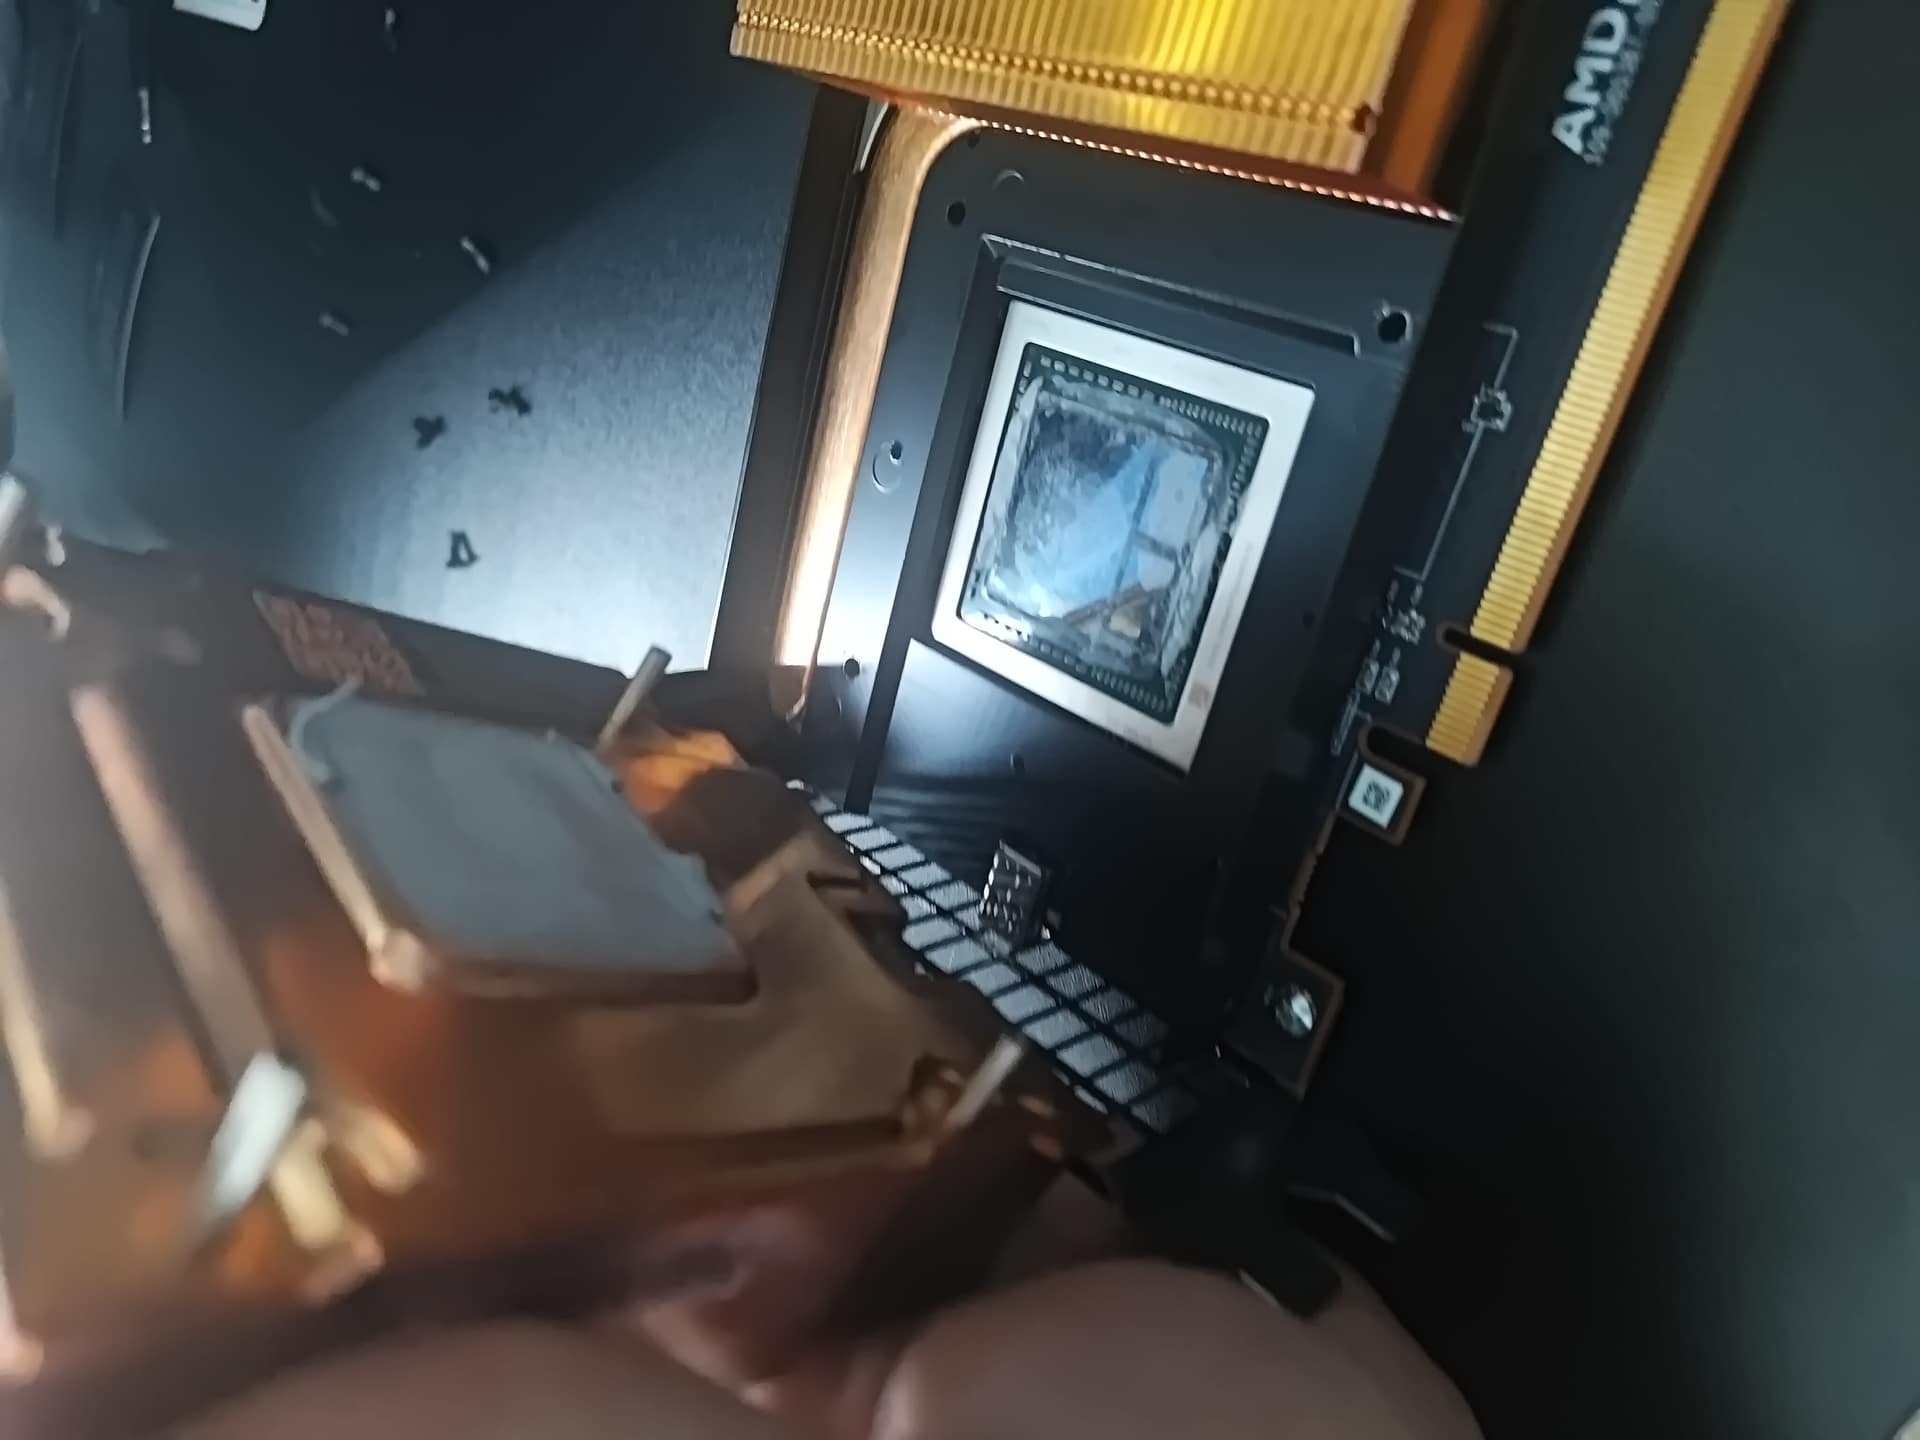 Step 5: left heatsink lifts straight off.
Step 6 — Right GPU heatsink. Same deal on the right side. Lift it straight up off the right die. Take your time — the HBM stacks are sitting right there.
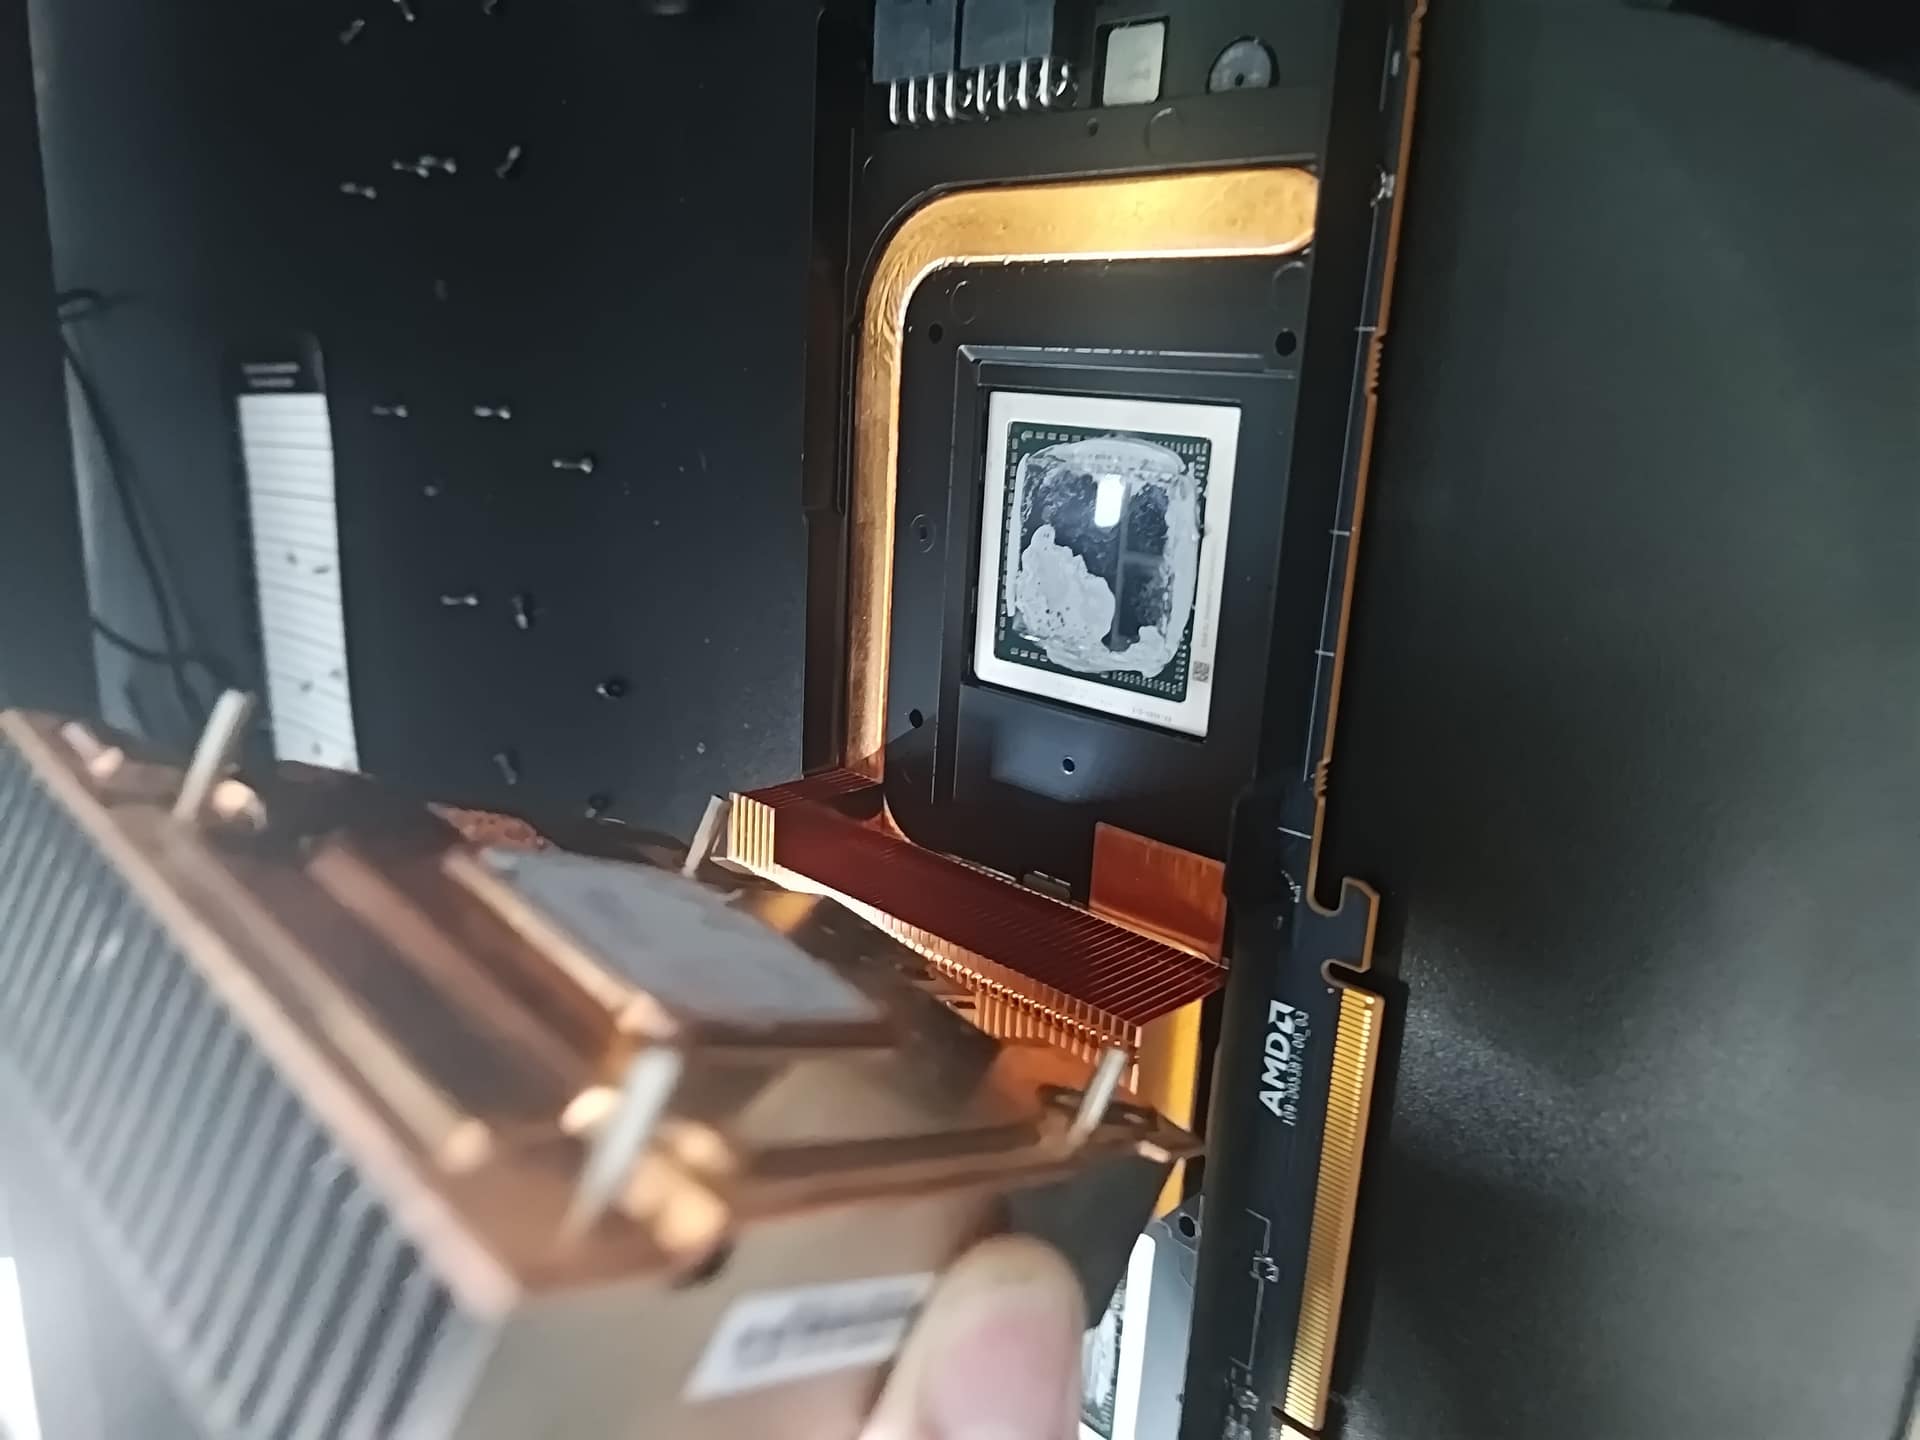 Step 6: right heatsink off. Both dies are now exposed.
Step 7 — VRM heatsink. The VRM heatsink is held down by its own screws and uses thermal pads rather than paste. Lift it gently and let the pads stay on whichever surface they’ve bonded to — trying to peel them off at this stage just tears them. You can deal with pad replacement separately if needed.
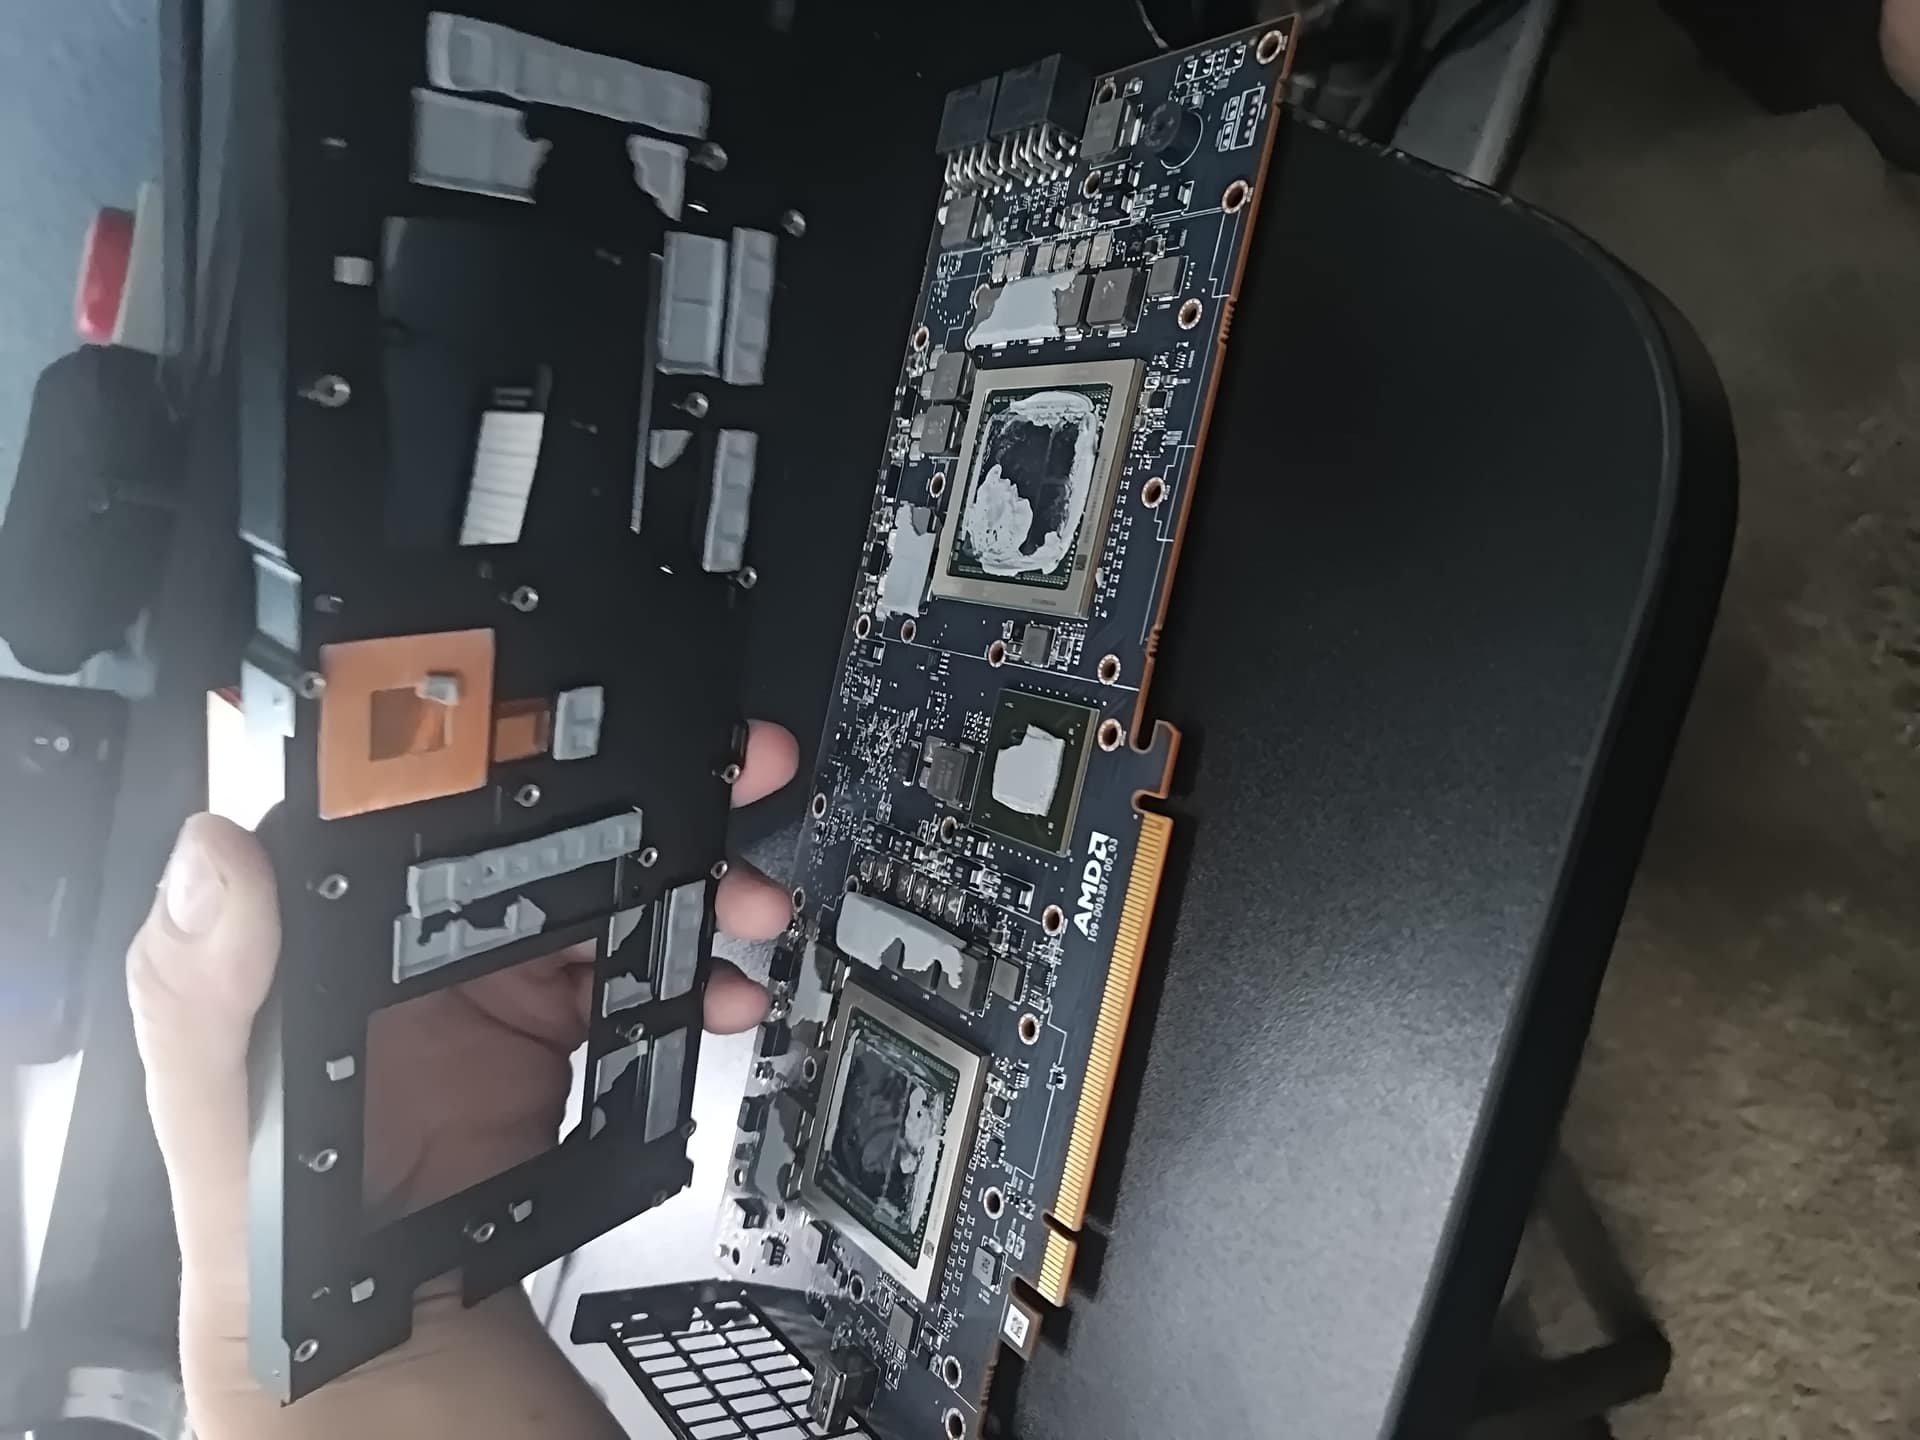 Step 7: VRM heatsink off. Let the pads grip where they want.
What I Found Inside
First thing that stood out: the heatsinks are vapor chambers. Not flat copper plates with heatpipes — actual vapor chambers. For a passively cooled card that has to survive on chassis airflow alone, that’s the right call. The thermal mass needs to spread heat fast enough across the whole fin stack that there are no hotspots when airflow is restricted. AMD engineered these properly.
The paste was predictably cooked. Dried and cracked across both die surfaces, pulling away from center, no longer making consistent contact. Years of continuous server workloads will do that. Not surprising, but it confirmed the repaste was necessary.
The PCB itself looked clean — no capacitor damage, no VRM stress marks, no burnt smell. Just age. The two Vega 10 XL packages sit side by side on the board with the HBM2 stacks right there on the silicon interposer next to each die. If you’ve never seen bare Vega before, the stacks are the first thing you notice — small, flush against the die, part of the same interposer package. The whole thing is noticeably larger than just a GPU die alone.
The SmartFusion2 chip is easy to spot once the backplate is off — small square component, the FPGA security processor that handles secure boot and platform management. It has no equivalent on any consumer GPU. It’s one of those details that makes it obvious this hardware was built for a different threat model than anything running games.
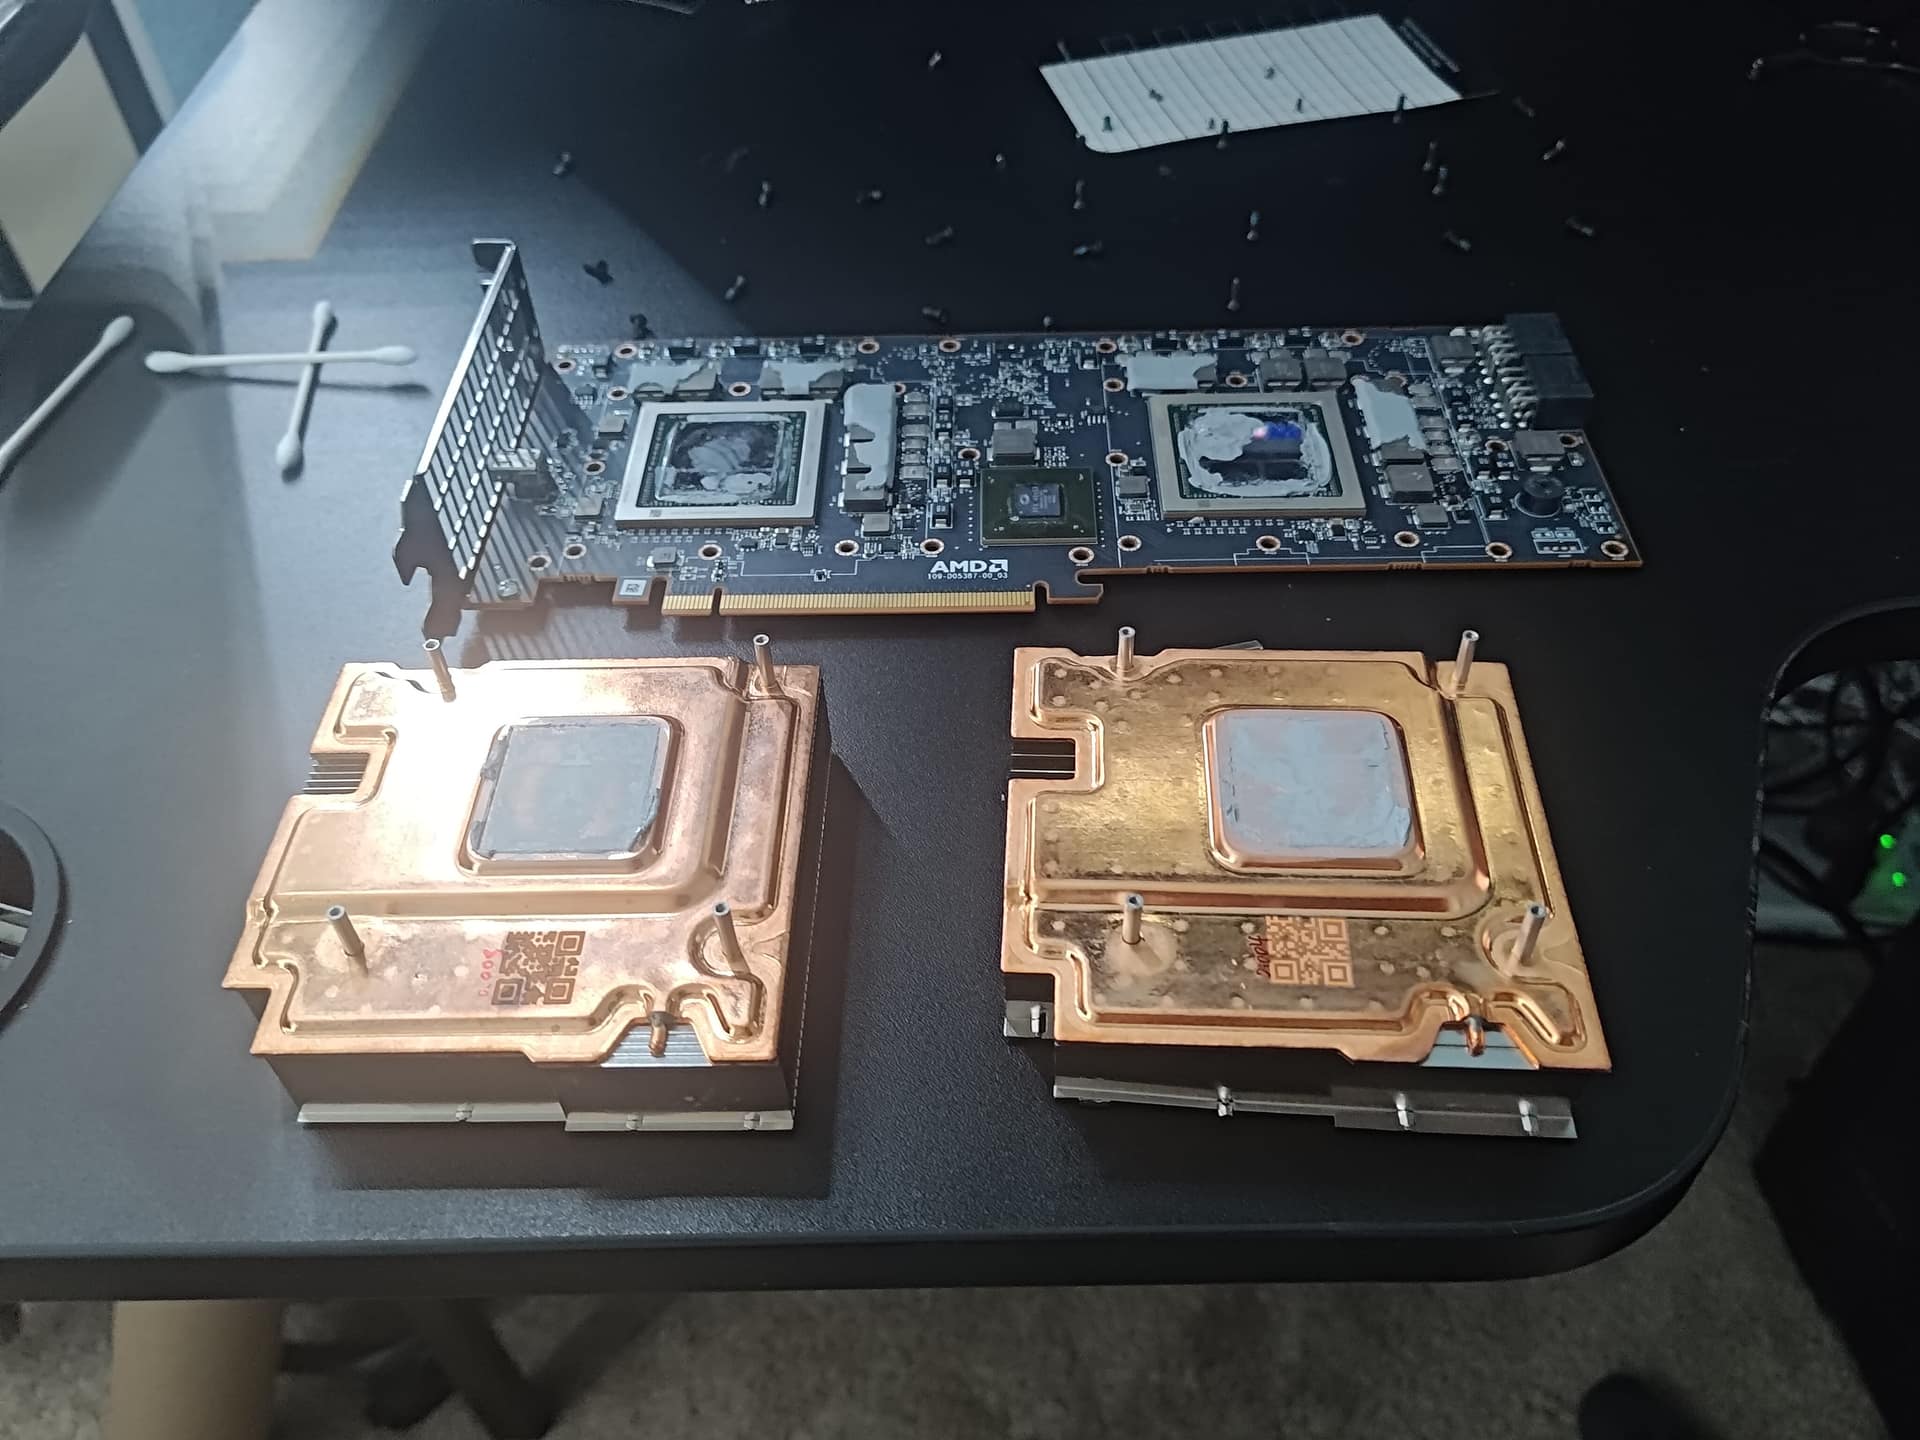 The vapor chamber heatsinks next to the bare PCB.
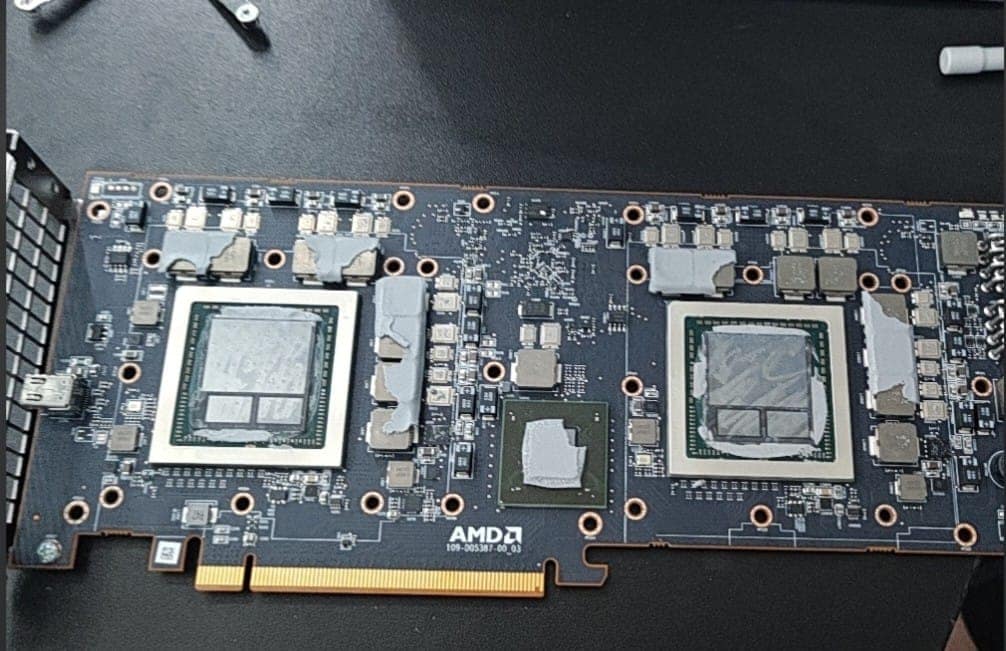 Both Vega 10 dies exposed with the heatsinks gone.
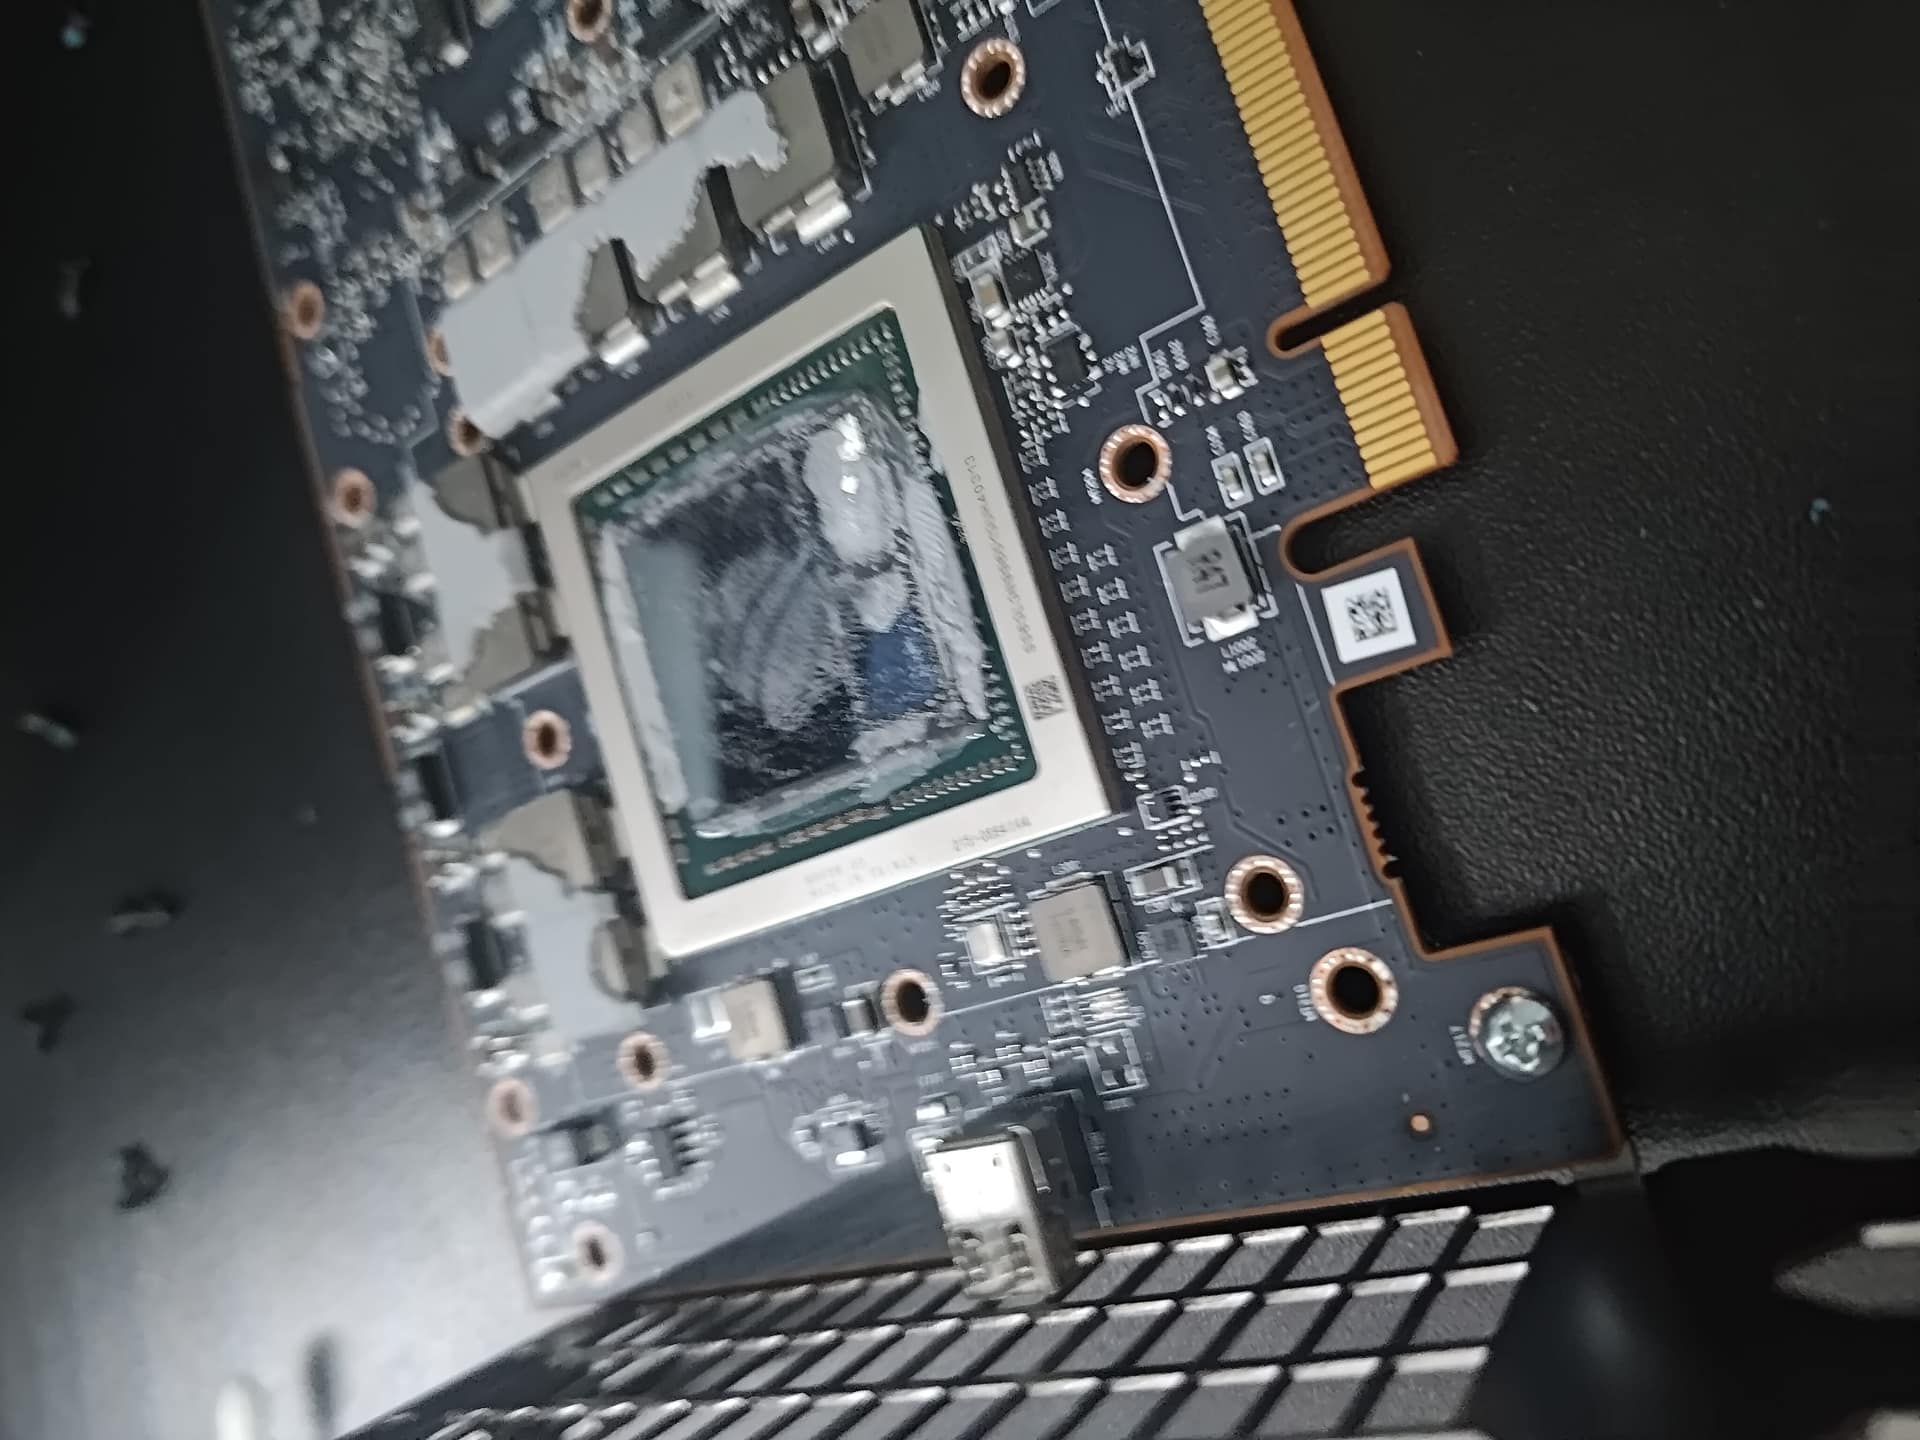 Left Vega 10 die, up close.
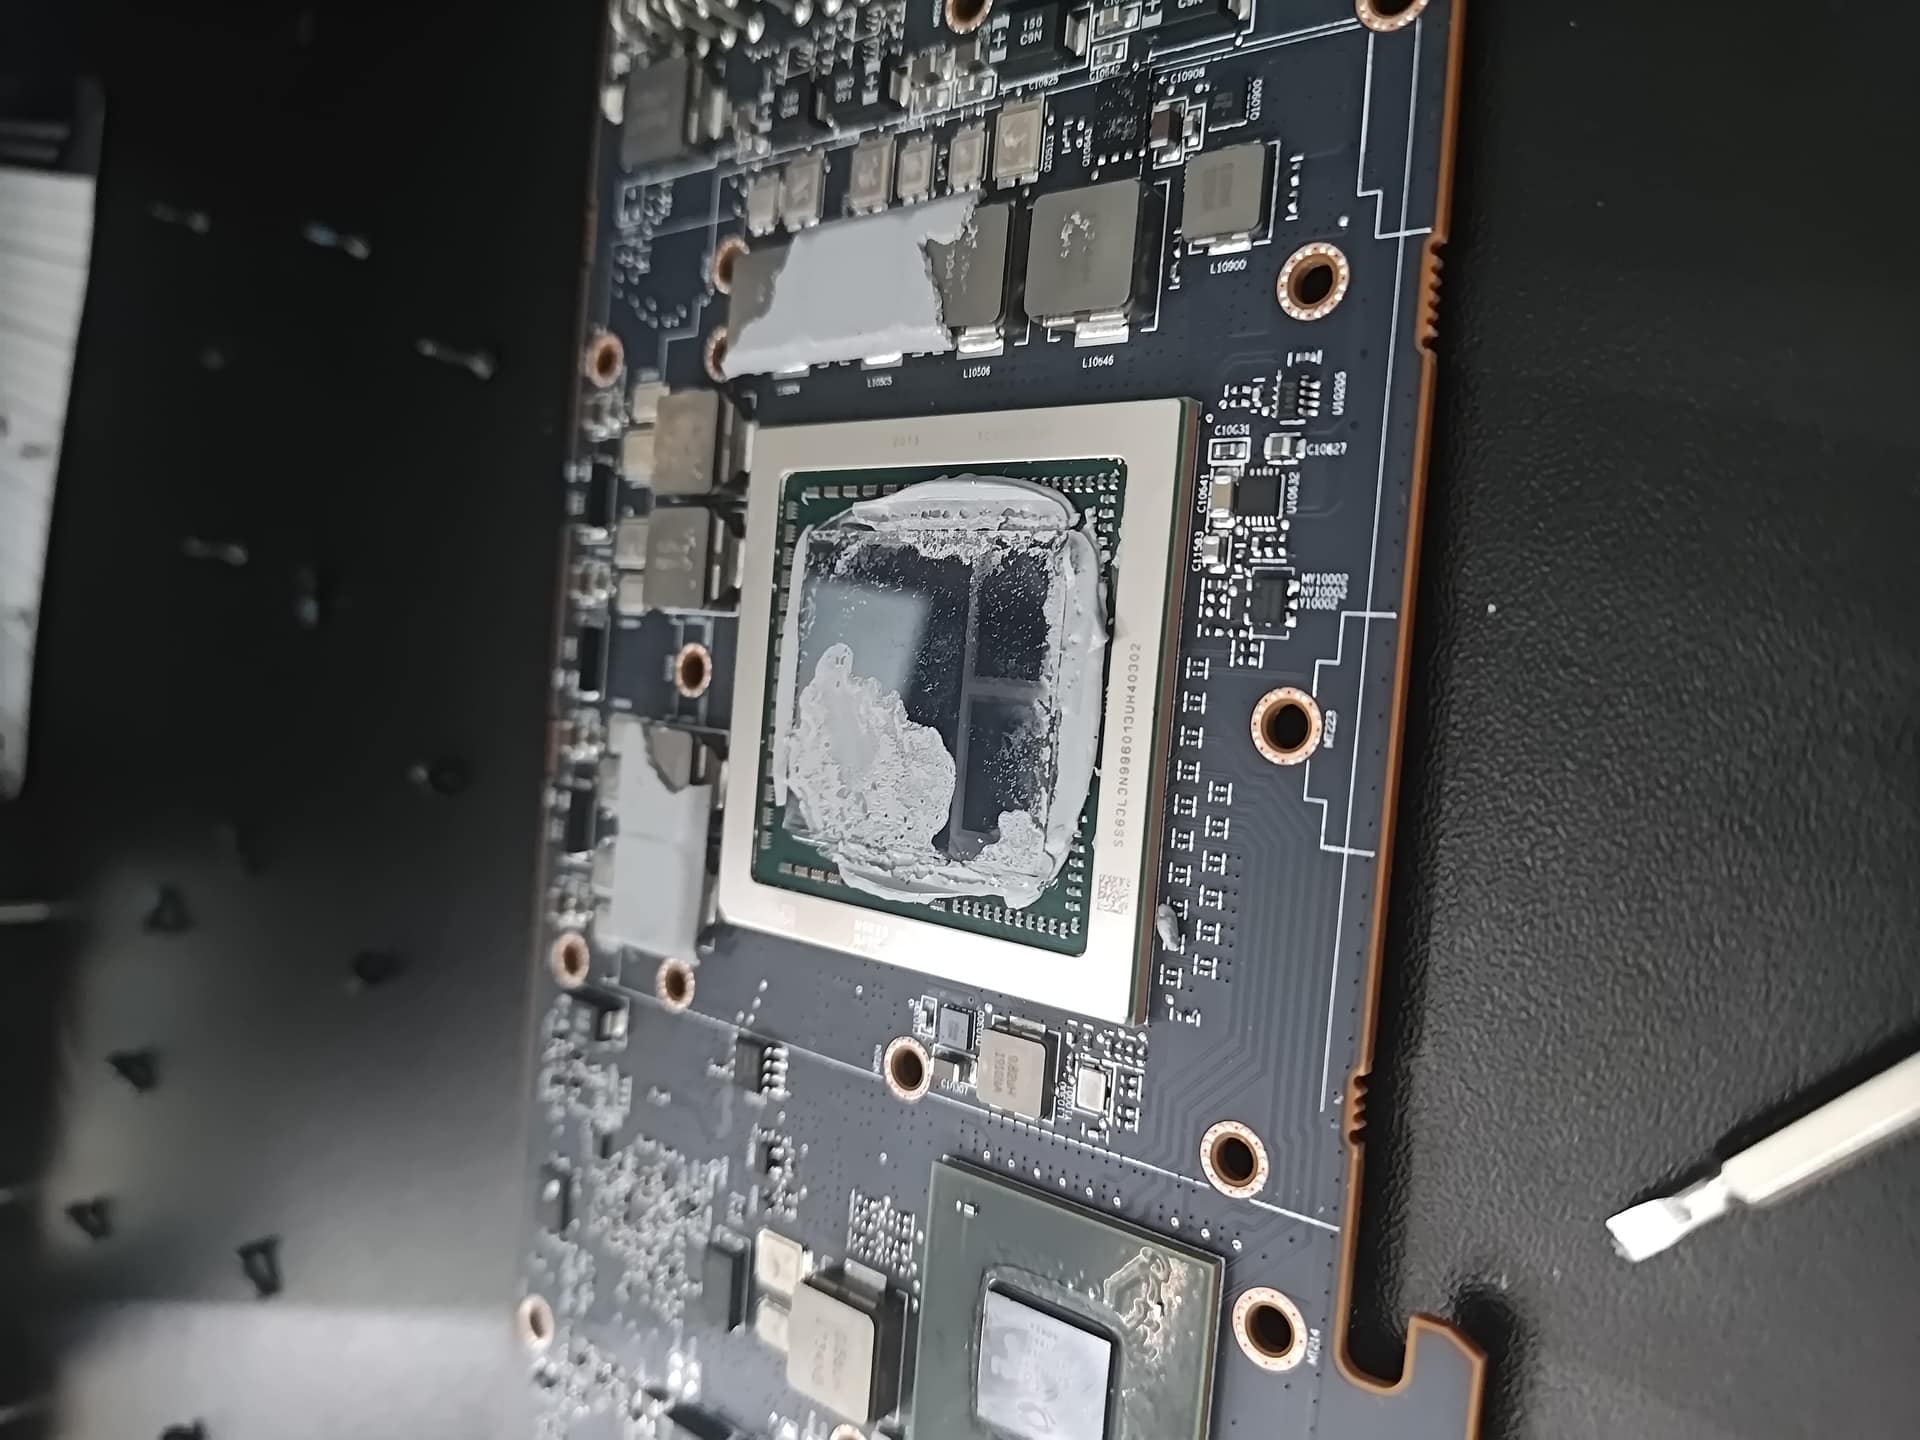 Right Vega 10 die, up close.
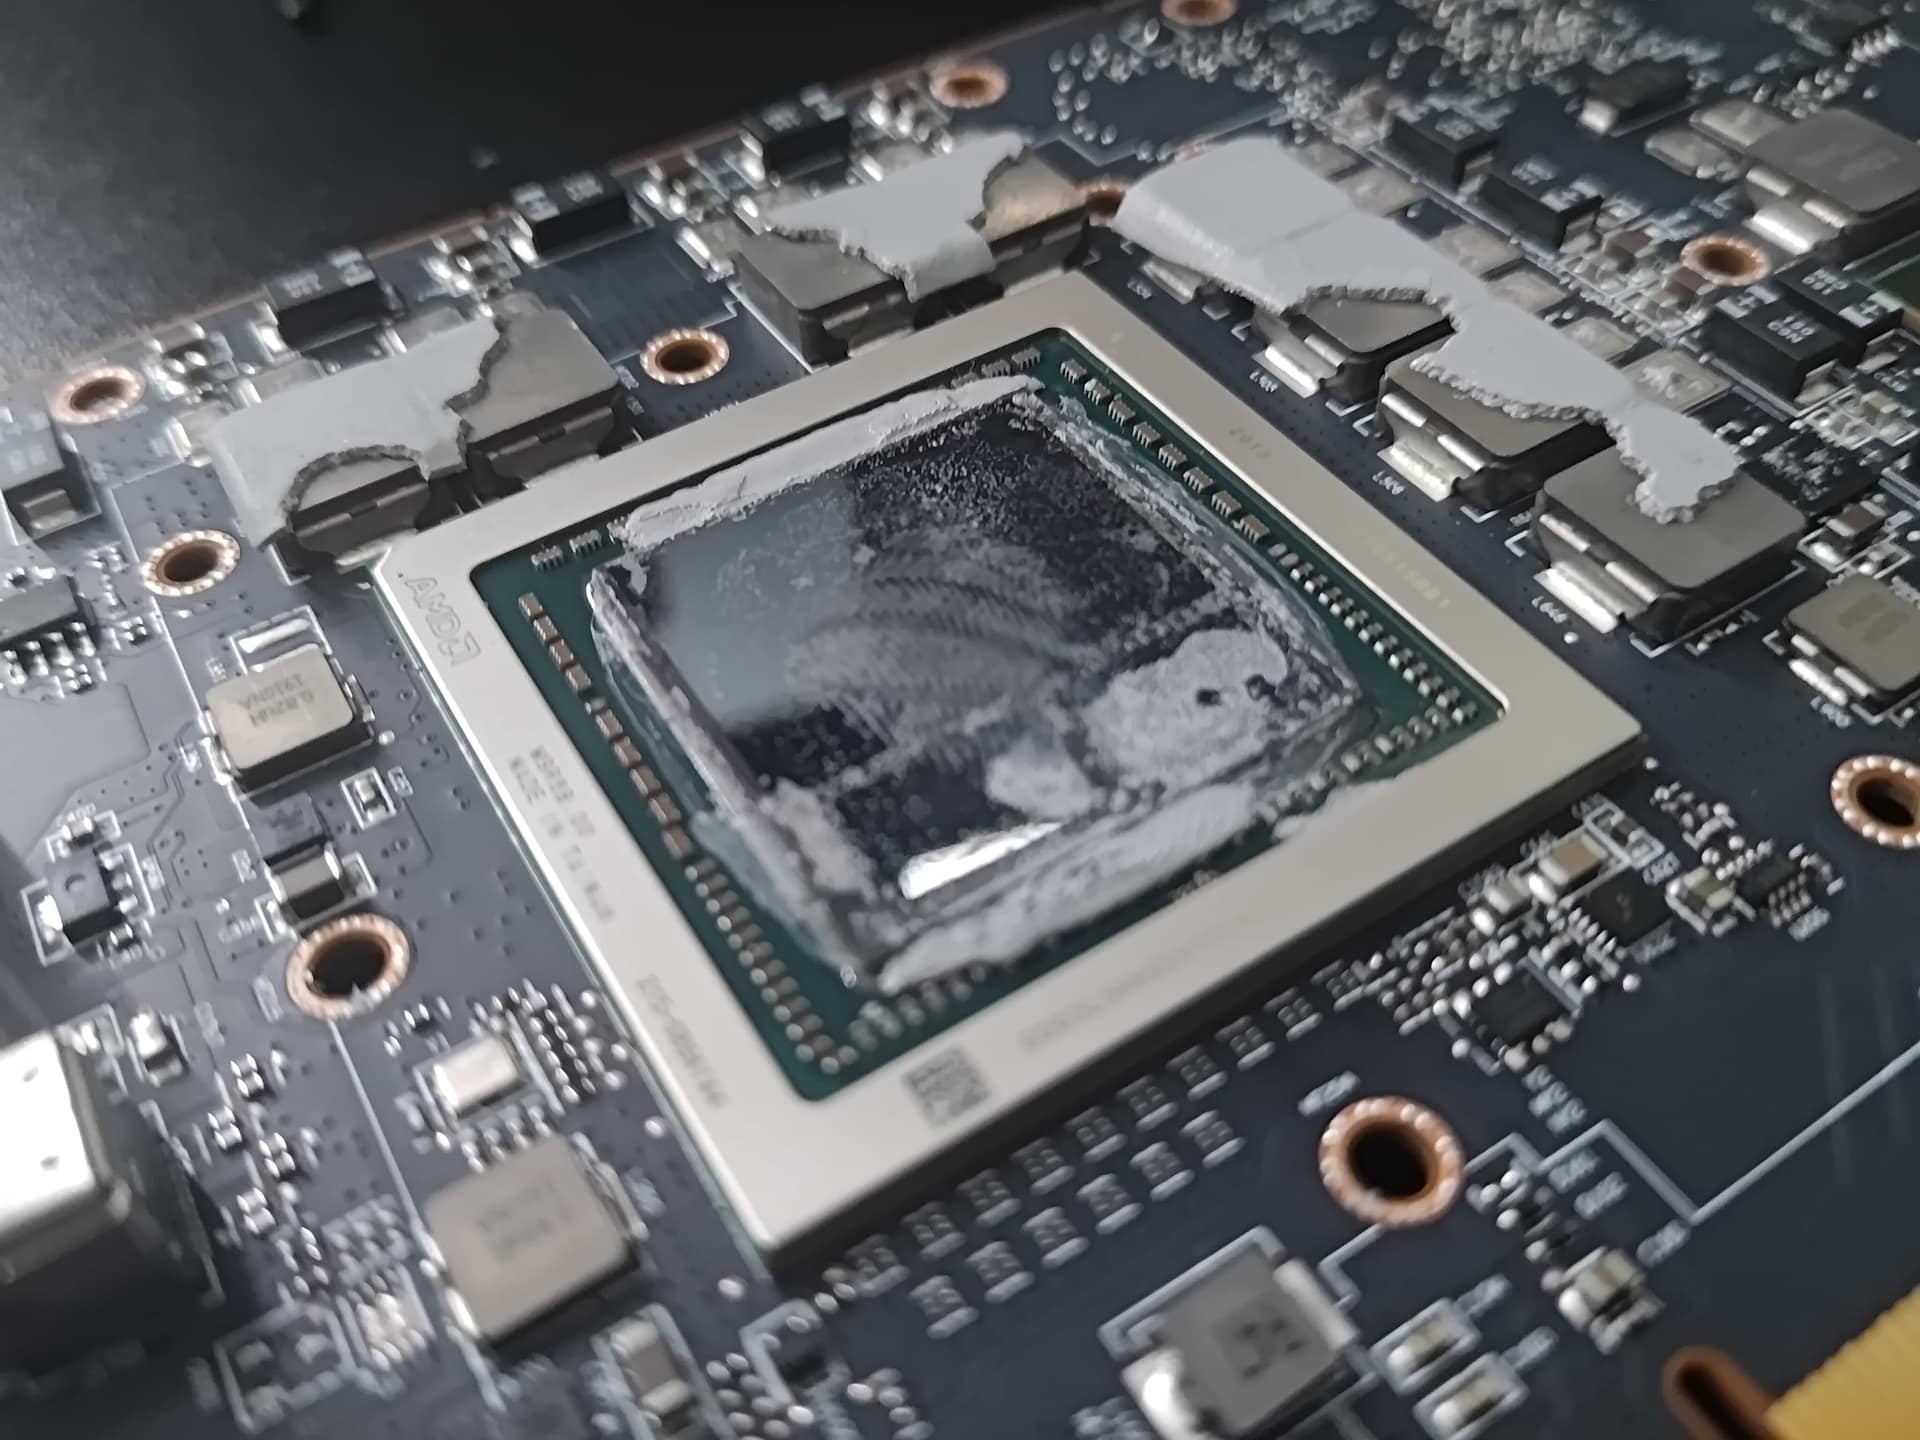 The HBM2 stacks sitting on the interposer next to each die.
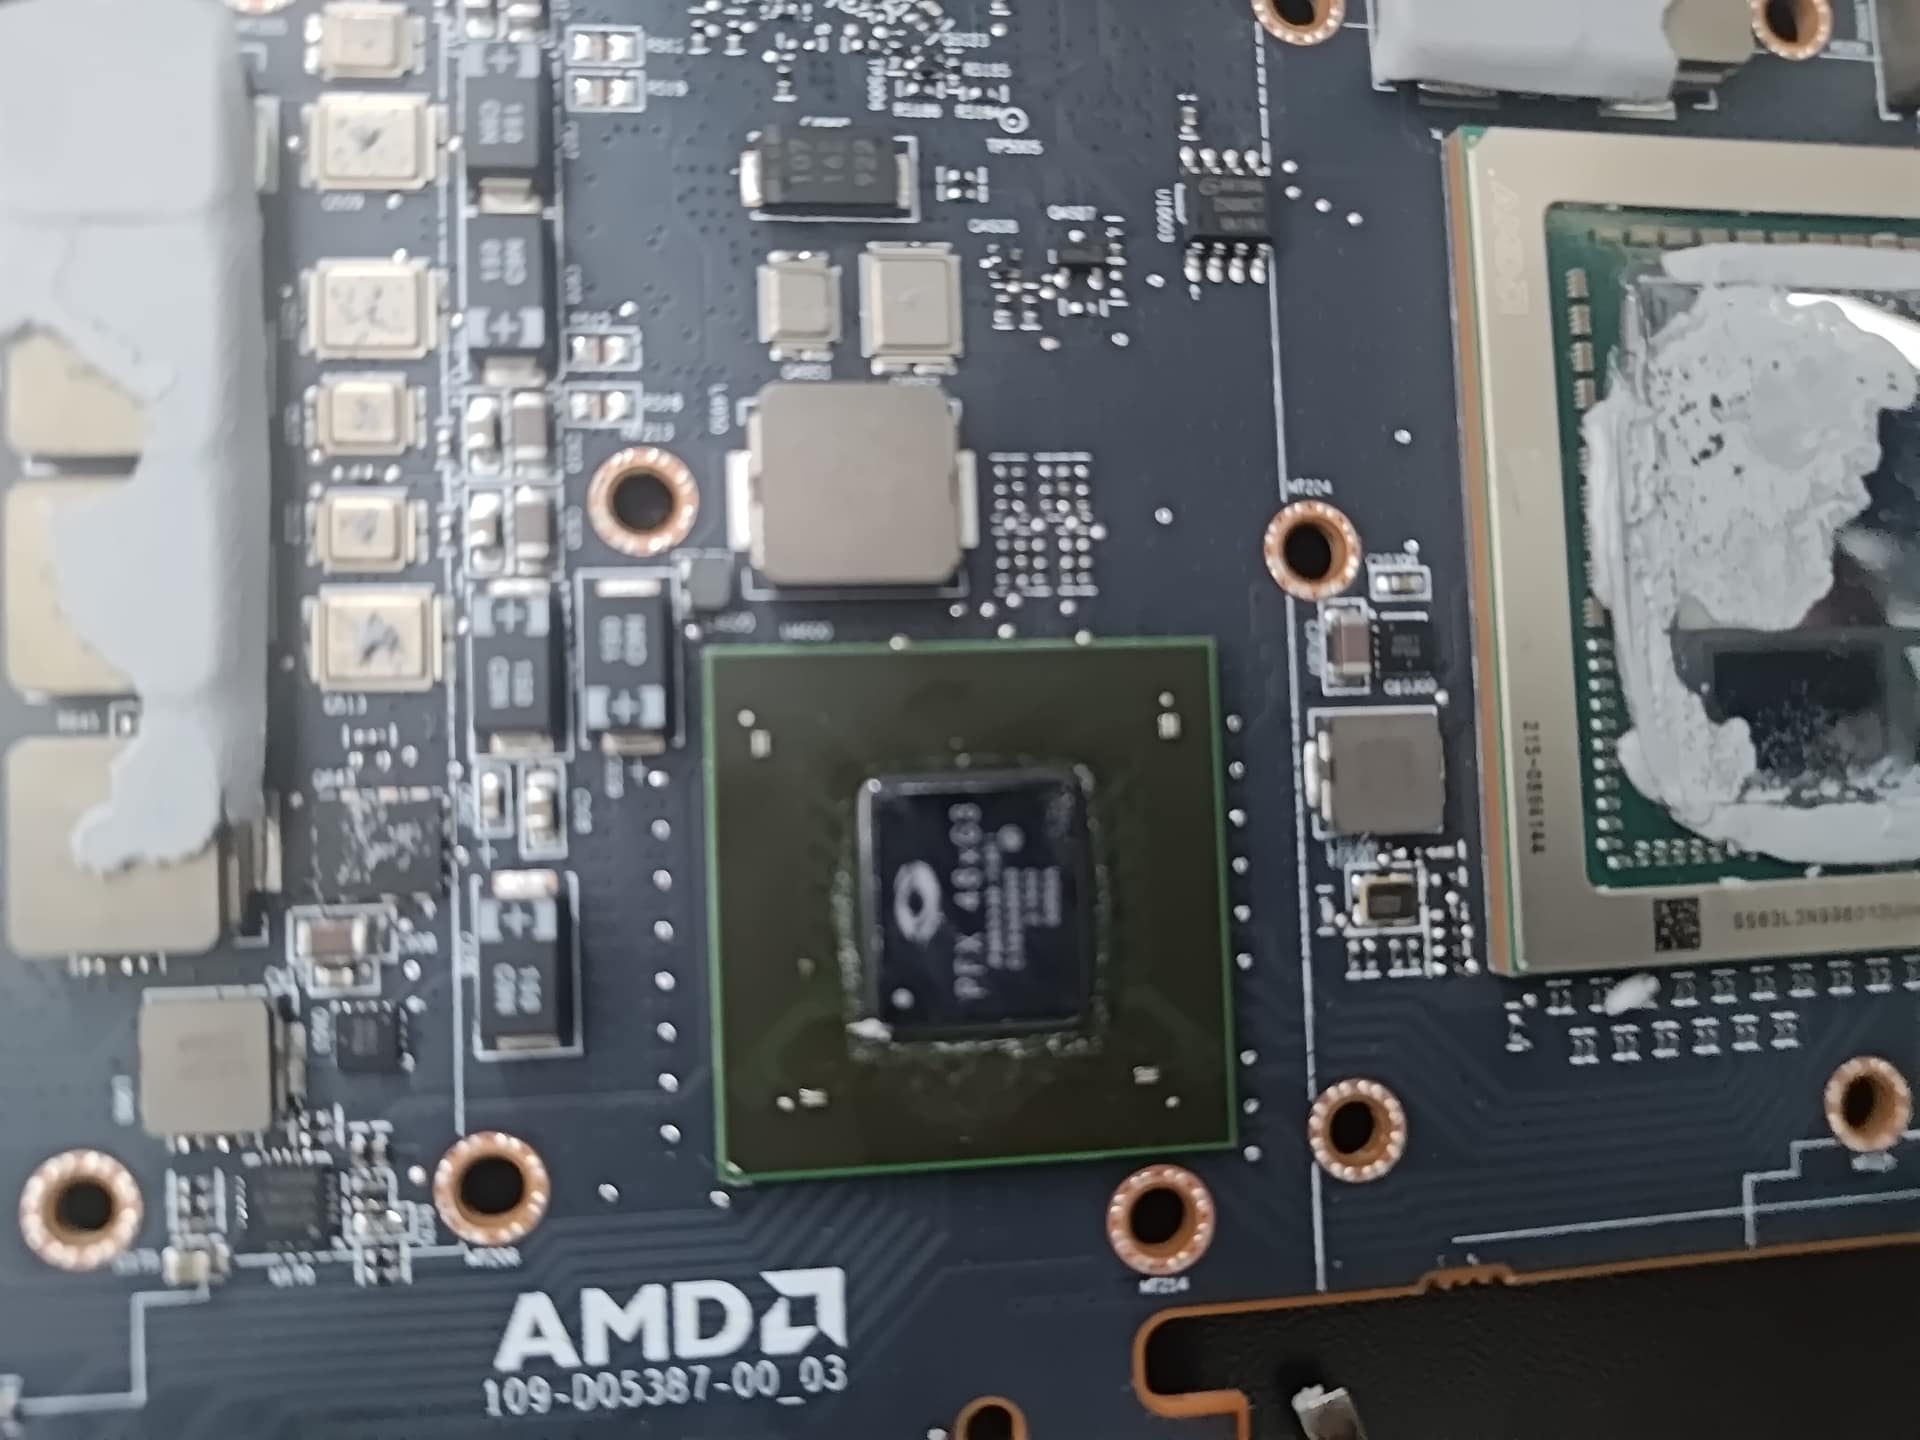 The Microsemi SmartFusion2 — not something you see on consumer cards.
Repaste
Cleaned both dies with isopropyl alcohol. The old paste was dry enough to wipe off cleanly — couple passes with a lint-free cloth and the die surfaces came up clean.
Bare die changes how you apply paste. There’s no IHS. The exposed silicon is all you have, and the HBM stacks are sitting right next to it on the interposer — you’re not just protecting the die, you’re making sure nothing runs onto those stacks. Small dot on each die, let the heatsink spread it on mounting. Less is right here. Anything more and you’re pushing paste somewhere it shouldn’t go.
Heatsink reinstall uses the same cross-pattern approach as CPU coolers. Work opposite corners, bring both sides down evenly, don’t fully seat one before the other. The vapor chamber needs even contact across the whole die surface. Rush the torque on one side and you’ve created the same uneven pressure the old paste was working around.
VRM pads held their position on the components and didn’t need replacement. Both heatsinks seated flat with no issues.
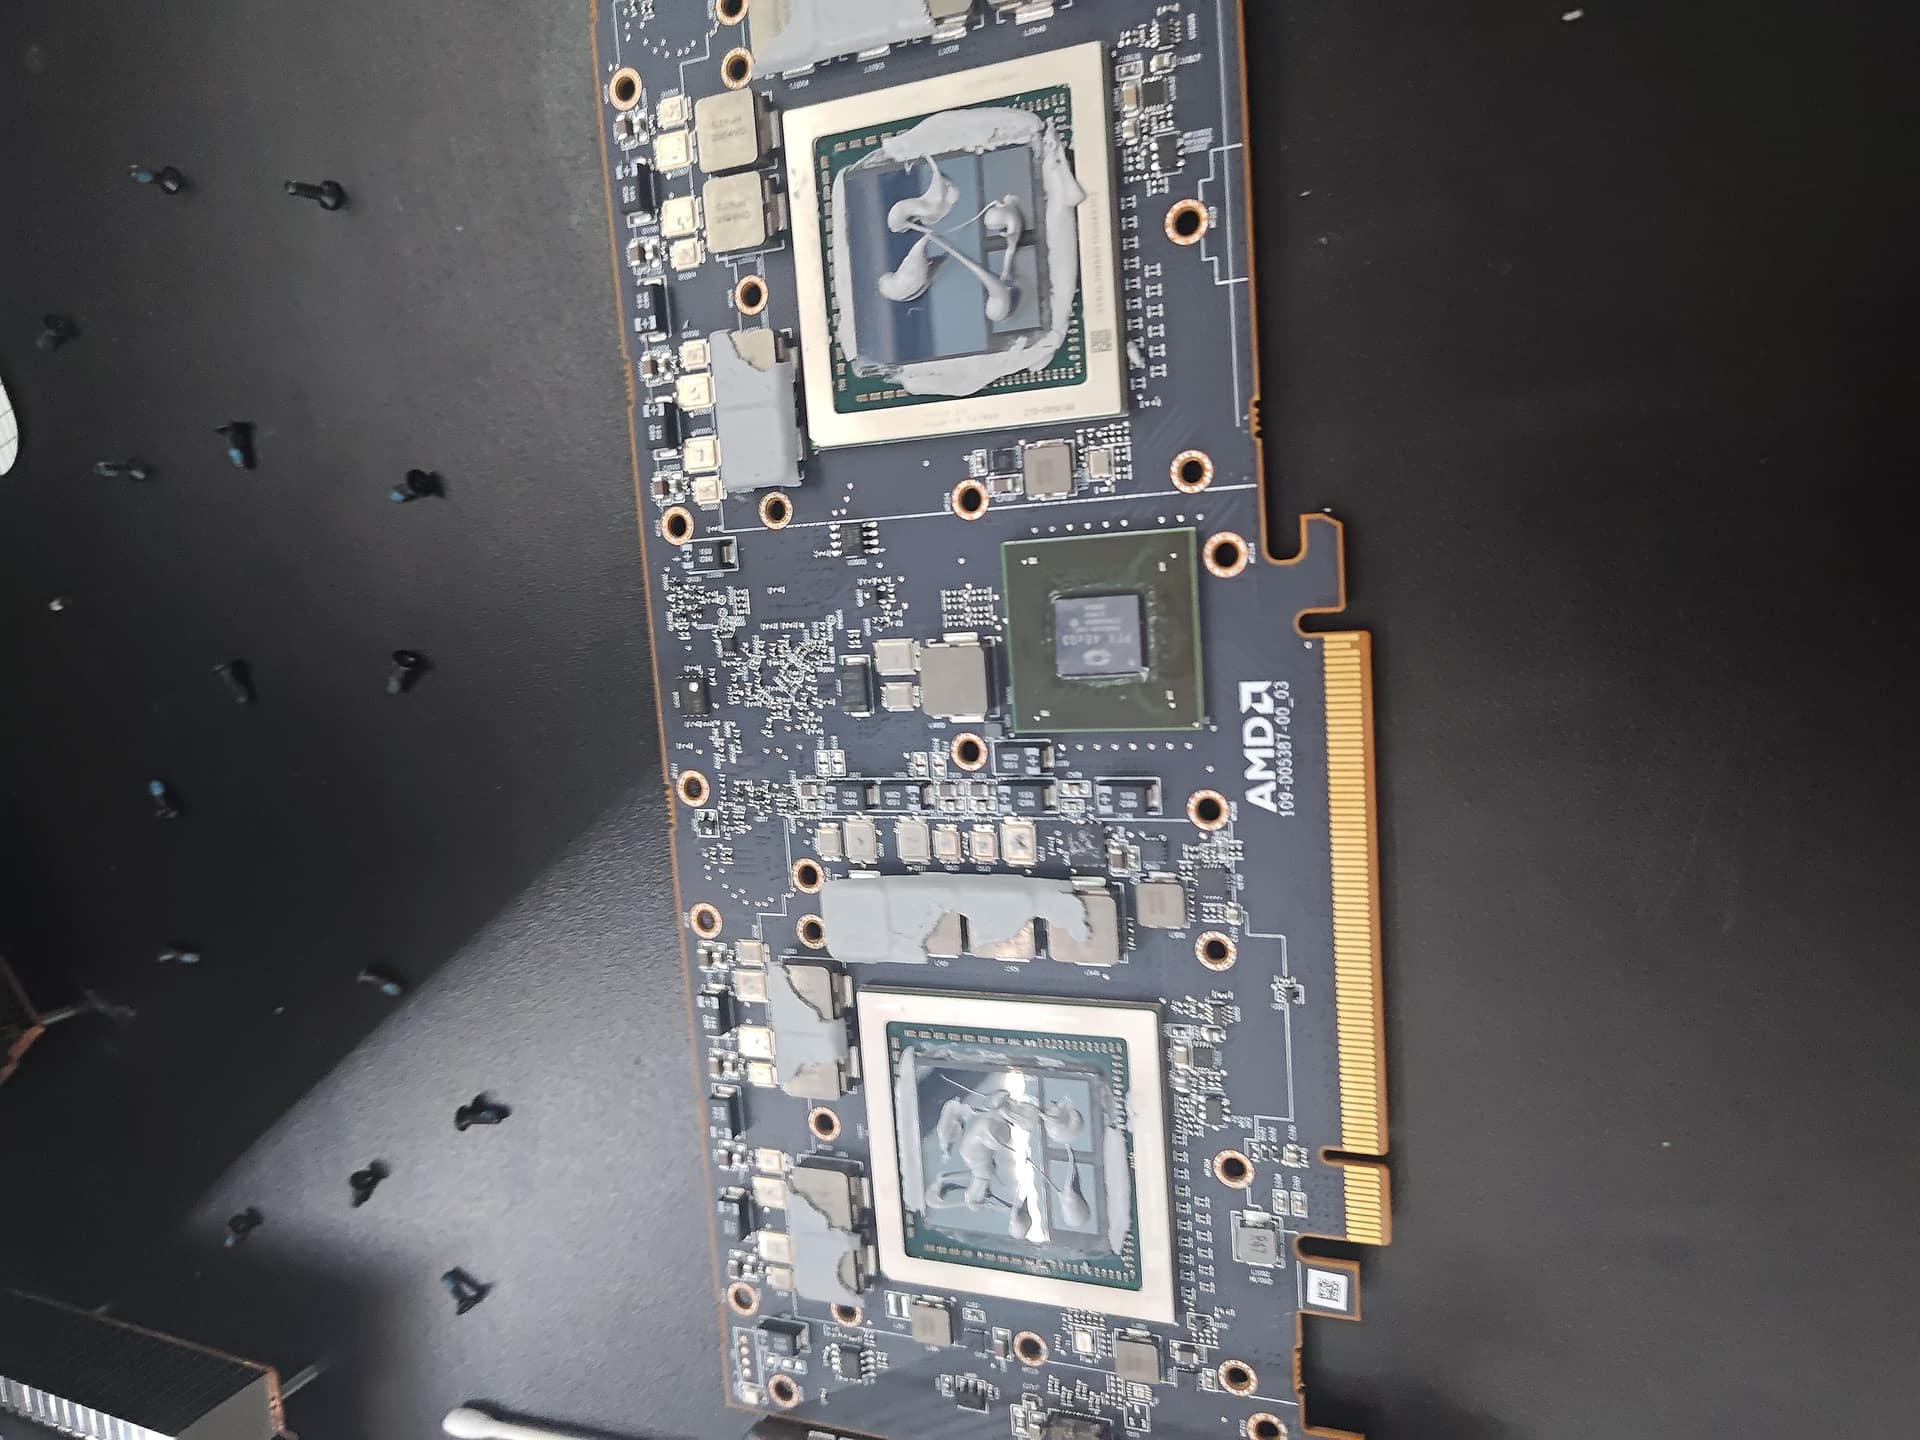 Fresh paste on both dies, ready for the heatsinks to go back on.
Whats Next
This is going into a homelab Proxmox build. The SR-IOV MxGPU support is the whole reason to bother — each Vega 10 XL die supports up to 8 virtual GPU instances, so the V340L can theoretically hand out 16 vGPUs to different VMs simultaneously. That’s not a number you see outside serious enterprise hardware, and getting one of these at Stadia surplus prices is the kind of gap that makes this stuff worth chasing.
The plan is to get AMD’s MxGPU drivers running on a Linux host and start carving it into vGPU slices for Windows VMs. Getting SR-IOV GPU passthrough properly configured is its own project — I’m not declaring victory until it’s actually stable and running. Expect a follow-up once that’s sorted.
From Marks Finds
- AMD Radeon Pro V340L — GPU